Pages

Tuesday, 29 June 2010

SFG in need of some TLC

Oh Dear! Lots of other things to do, lots of hot dry weather and the Square Foot Garden (SFG) has suffered...

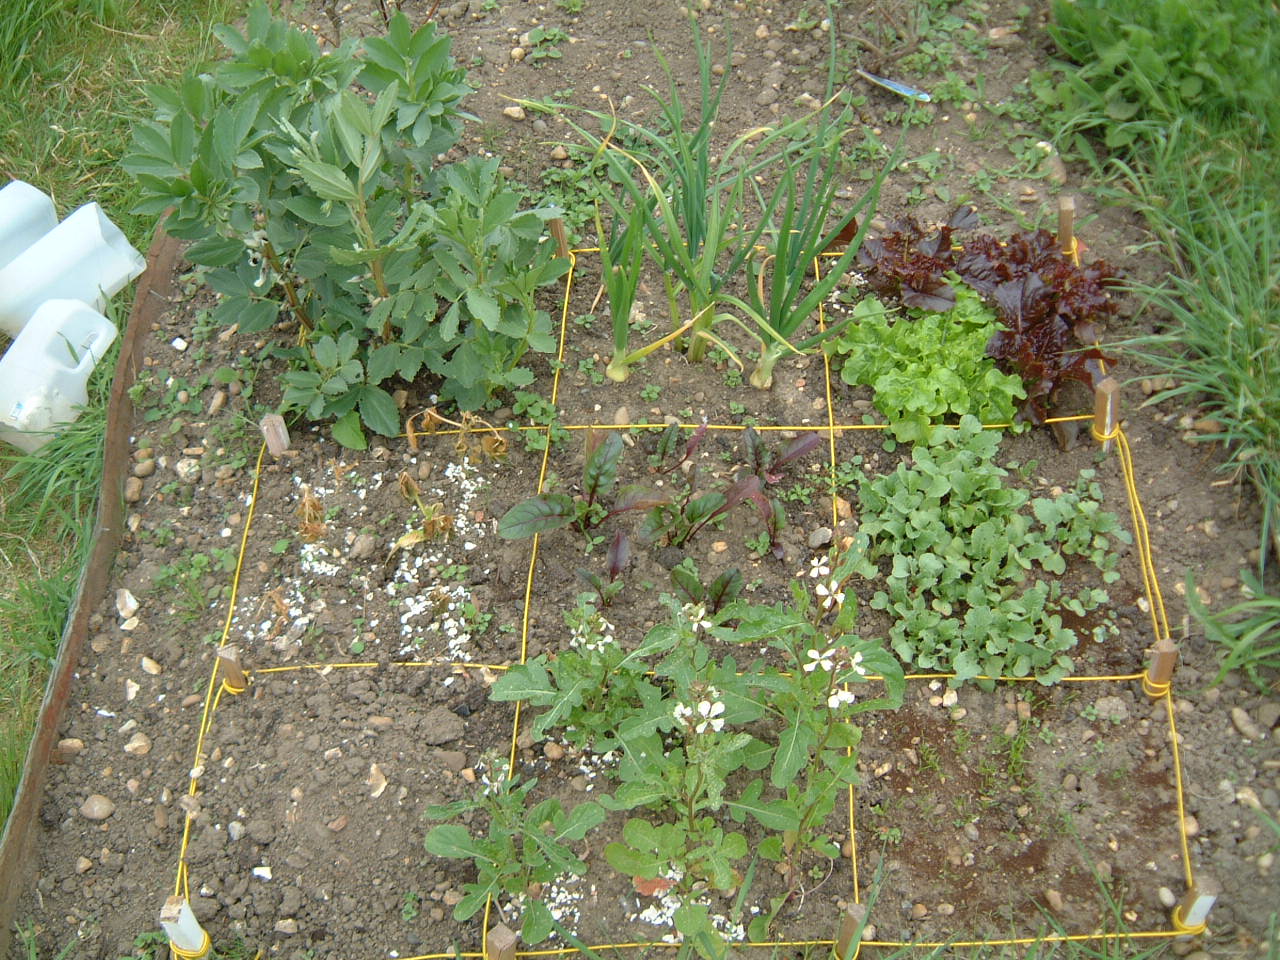
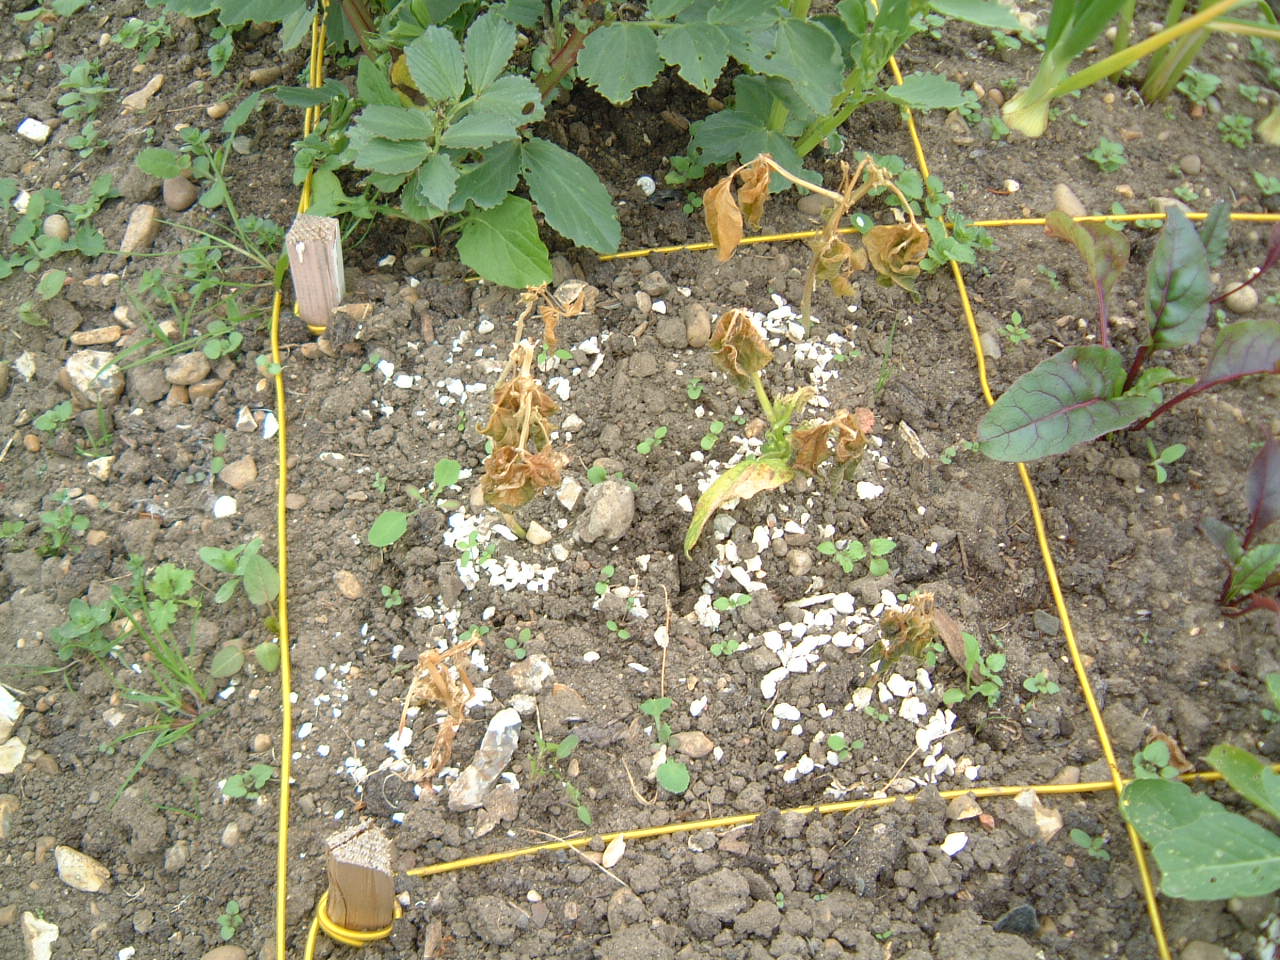
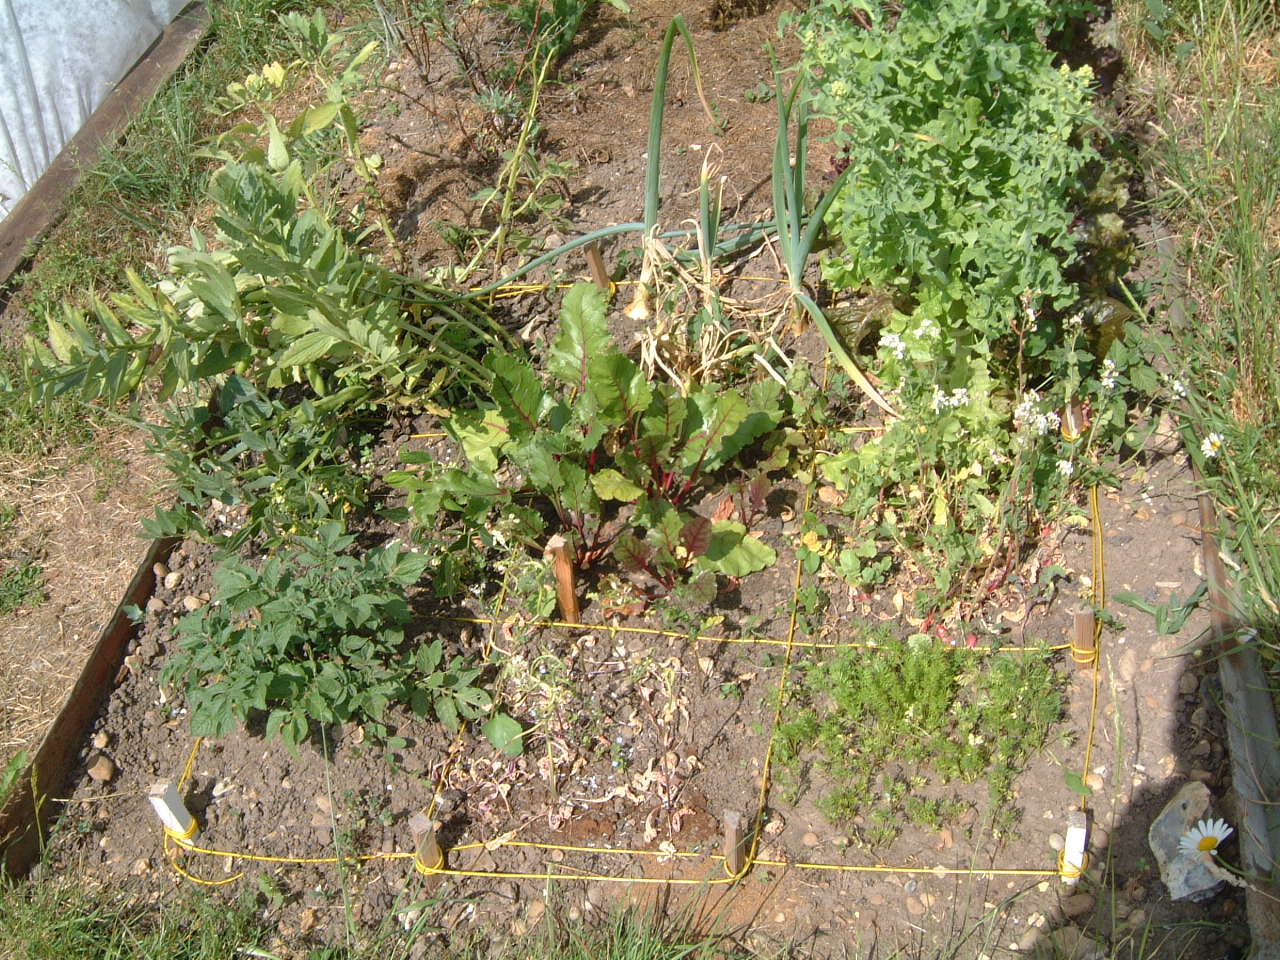
The picture below shows the dead rocket (centre front), ‘woody’ radish (centre right), bolted lettuce (back right) and broad beans falling over (back left). So a big tidy up is needed, and some replanting and watering. But we have had good crops of lettuce, radish and broad beans, so all has not been in vain.

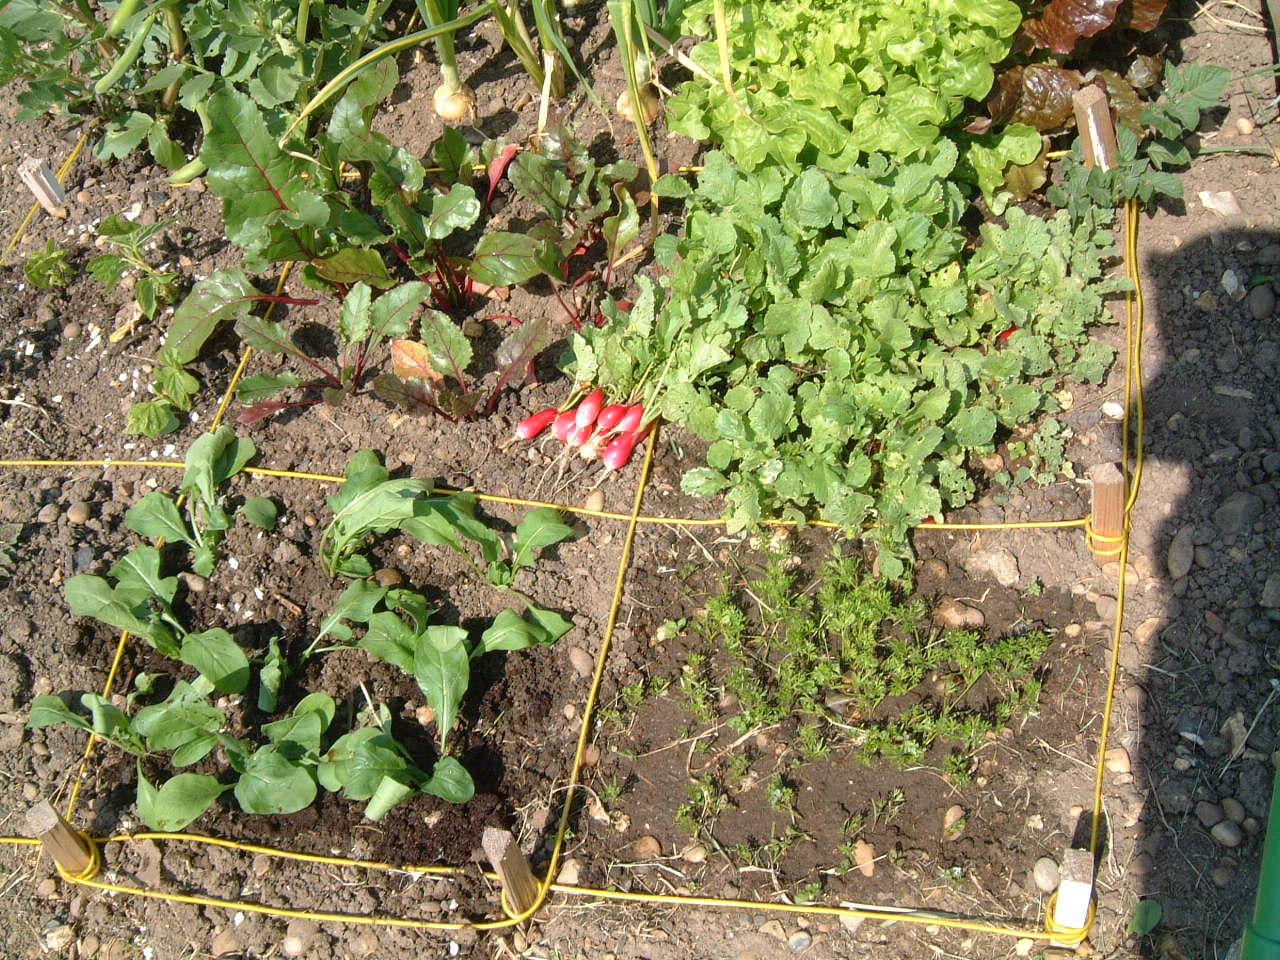
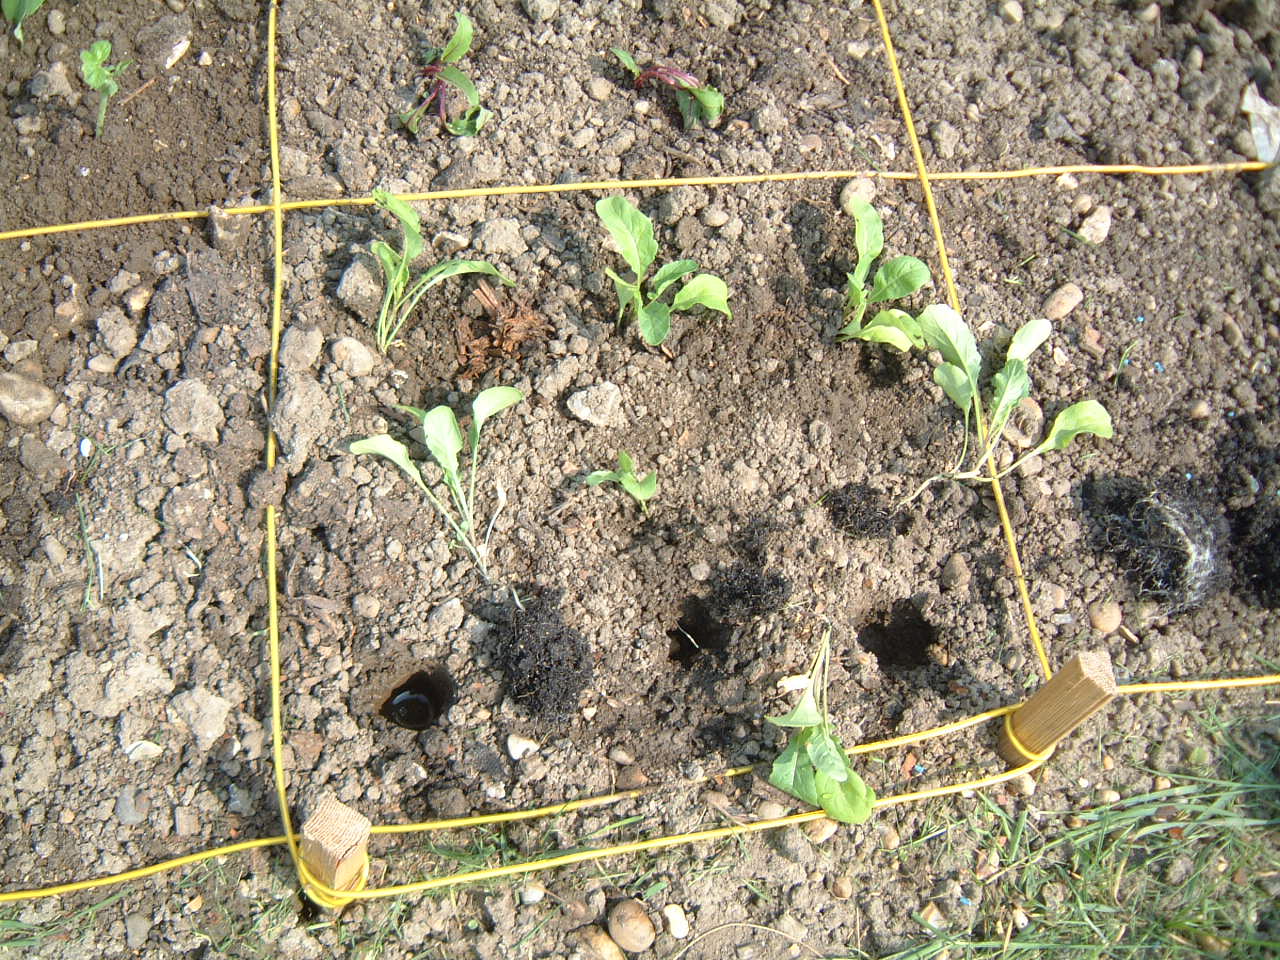
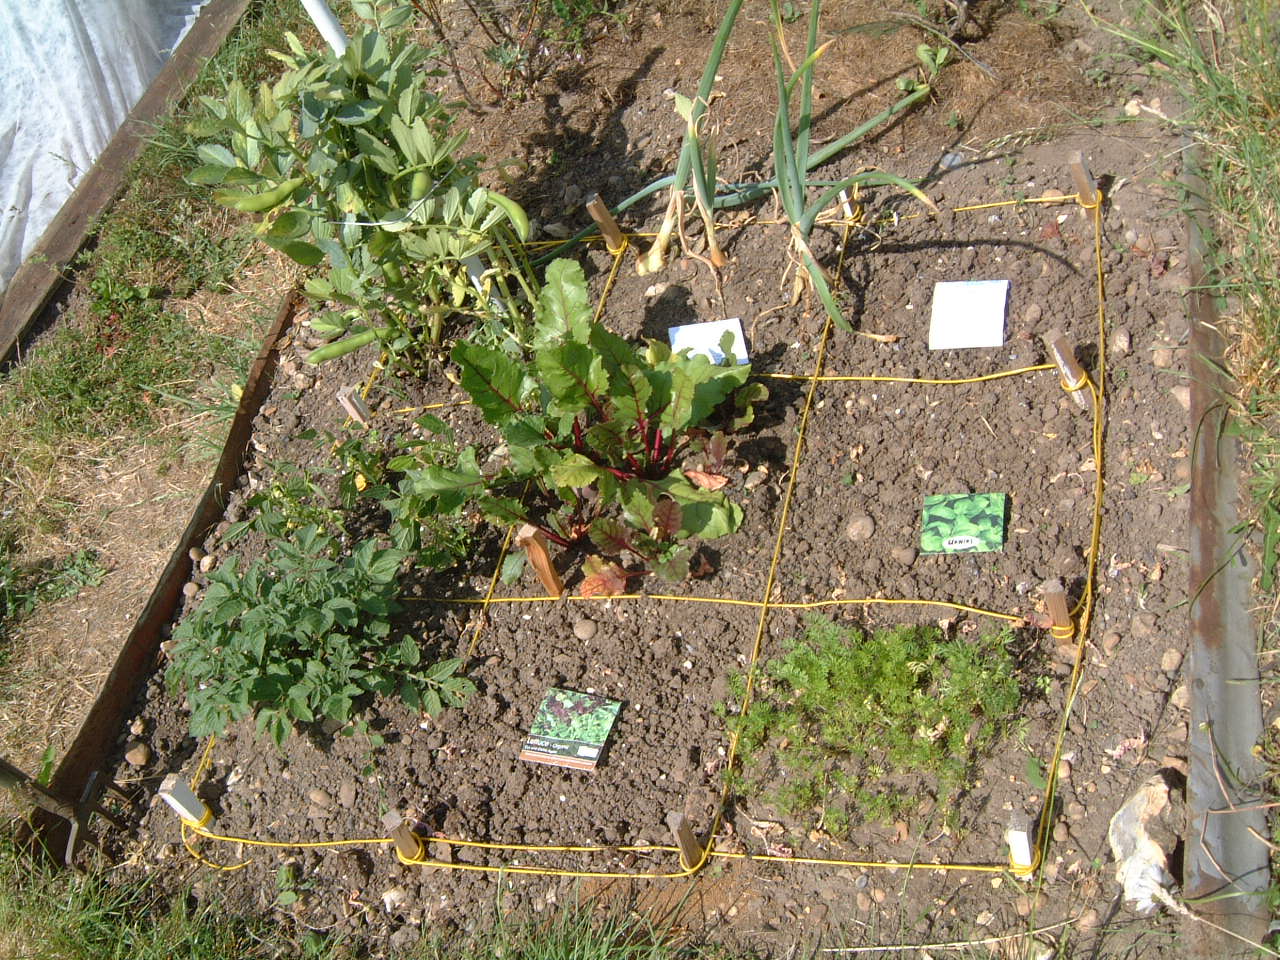
The next picture shows what ten minutes TLC can do, with plans for next planting. I’m avoiding putting the same crops in the same SF (rotation), so lettuce (centre front) basil (centre right), swede for winter (back right) and a few radish where I’ve removed the front onions.

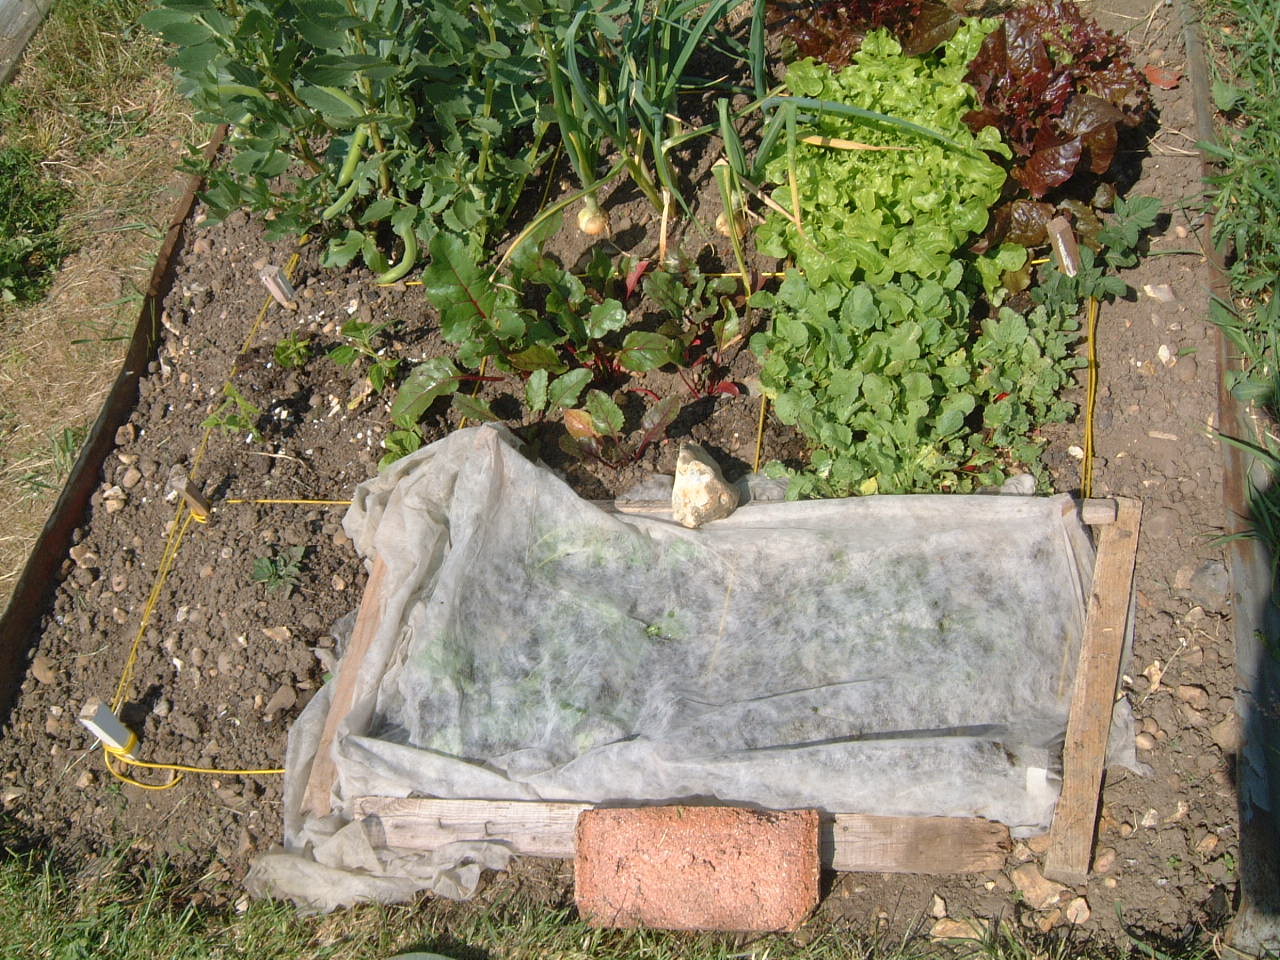
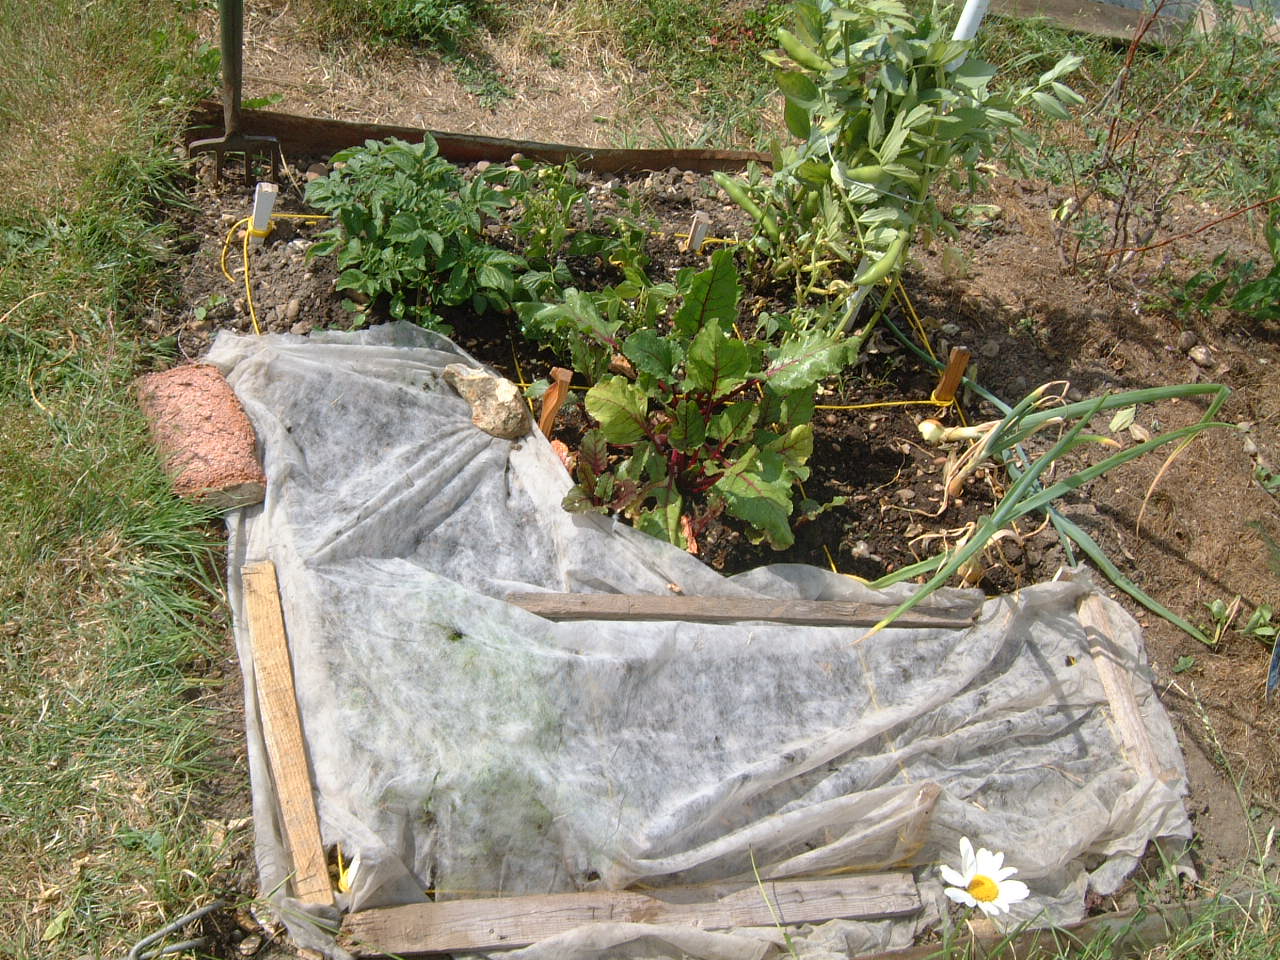
And with the broad beans staked, the whole SFG watered and new seeds covered with fleece, it looks like this:

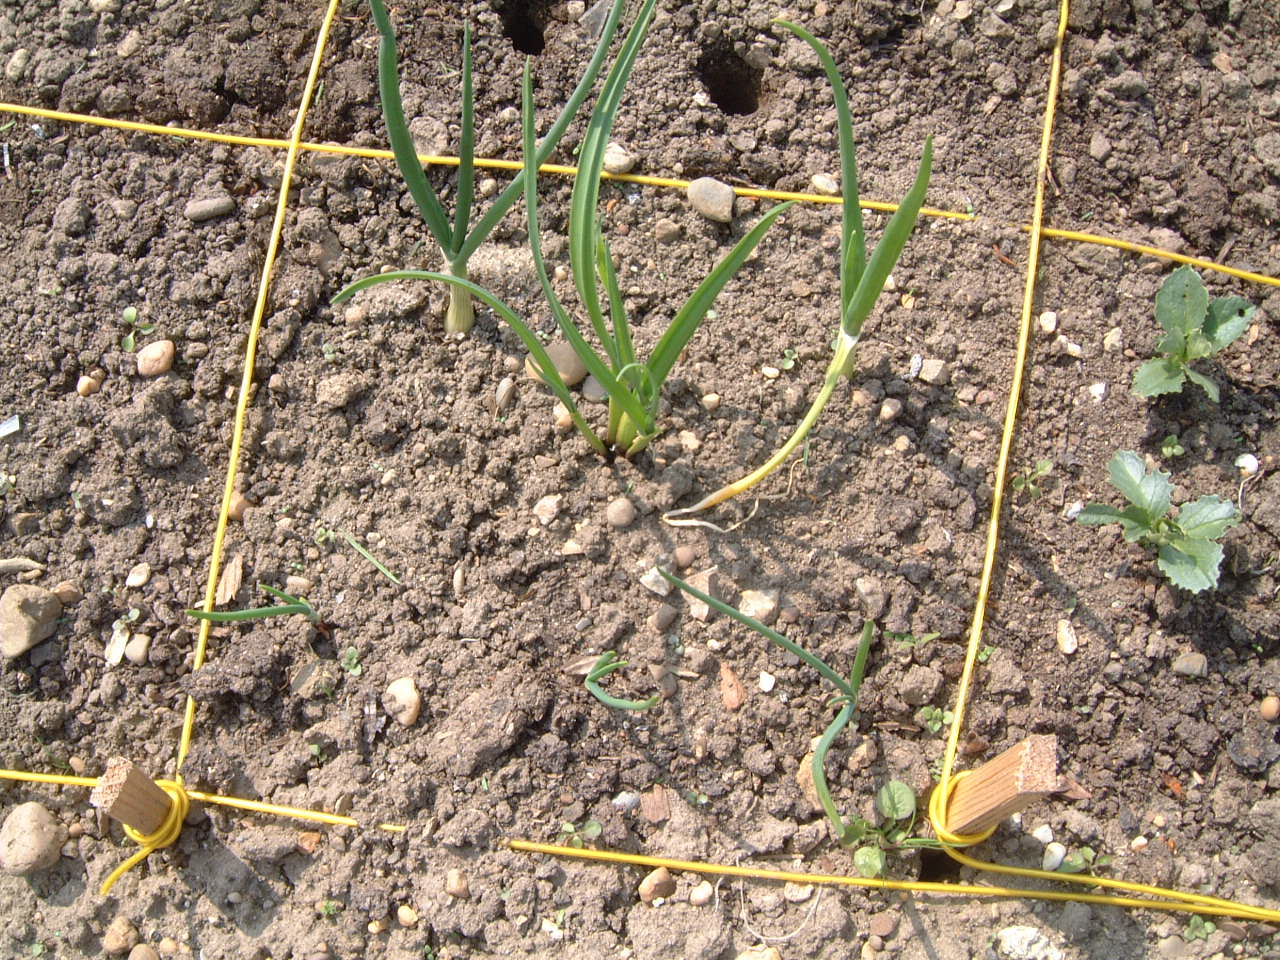
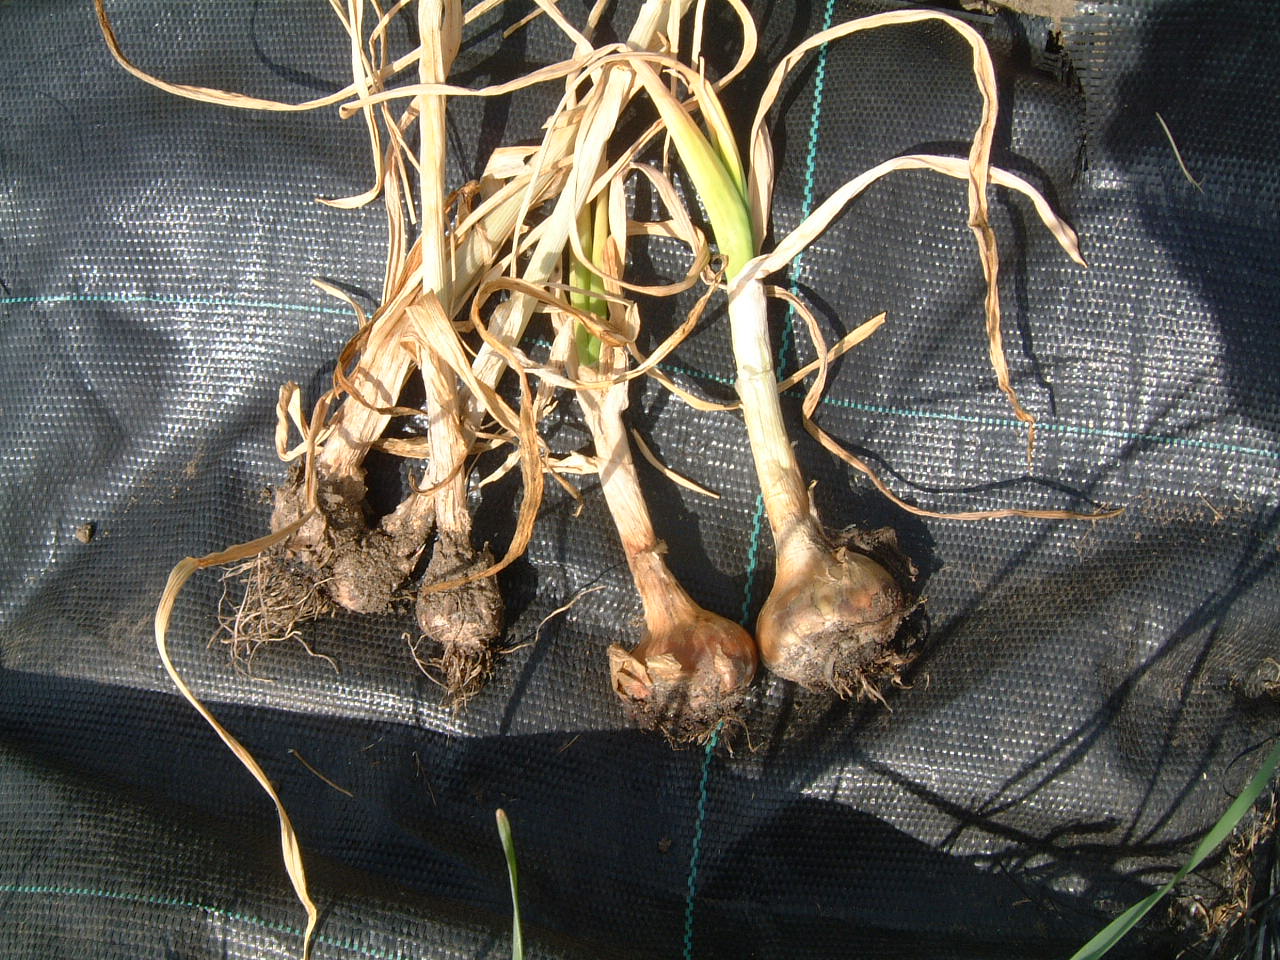
Onions! Not good this year. If you remember I planted 3 onion sets at the back (north east side) garlic in the centre and 3 onions grown from seed in the front. The sets continue to grow, slowly, but the garlic and onions from seed have developed ‘white rot’, yes even in the hot weather, and are of little use. This looks like a fungus on the base of the onion and the roots are stunted. The disease is often ‘bought in’ on sets or manure etc and easily transferred by foot from plot to plot. It infects the ground for at least a decade and there is no known organic treatment. The onions may grow to a decent size but will not keep more than a couple of weeks. We’ll wait to see whether the sets survive.

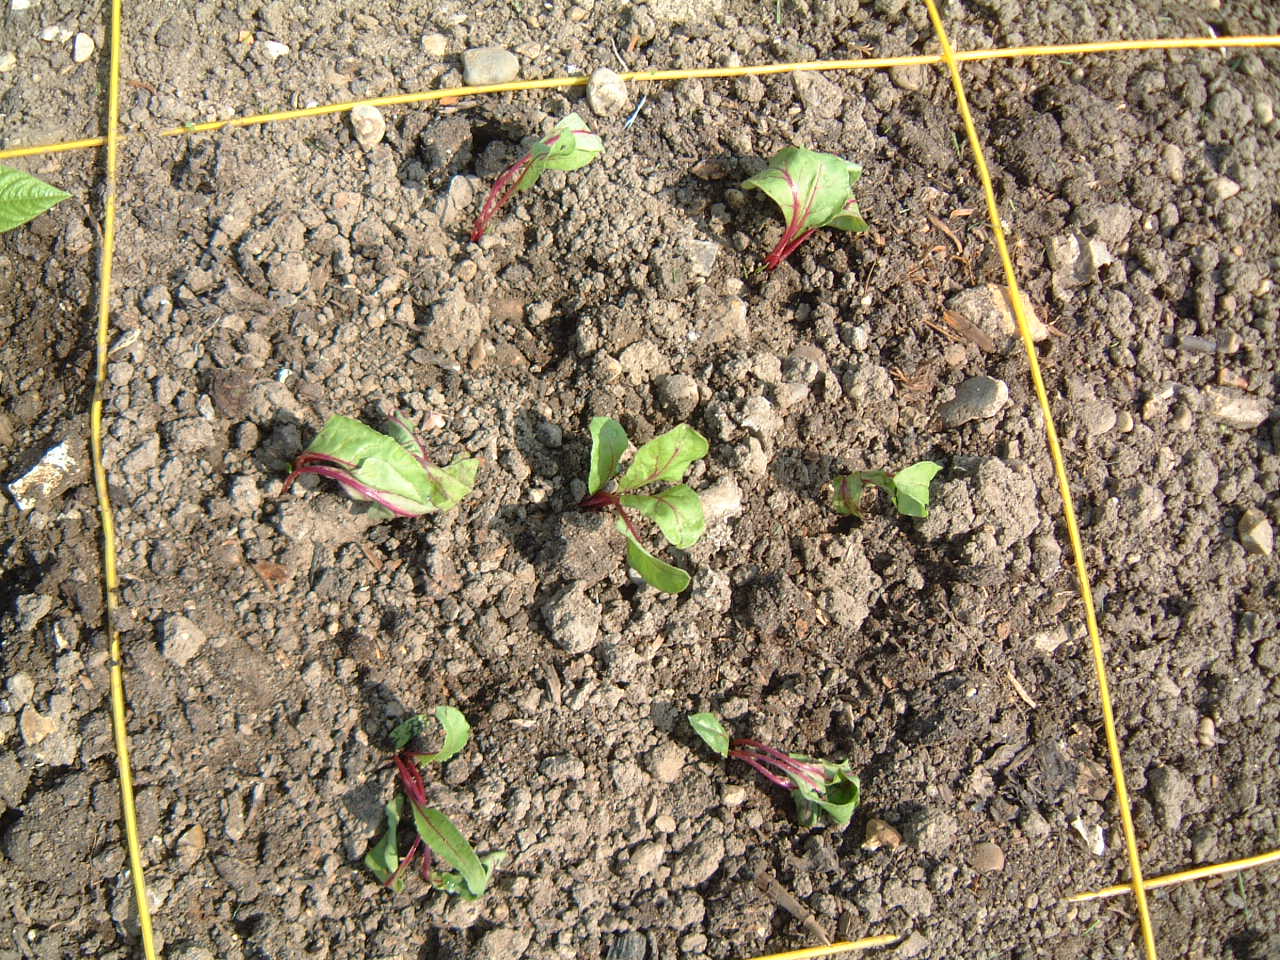
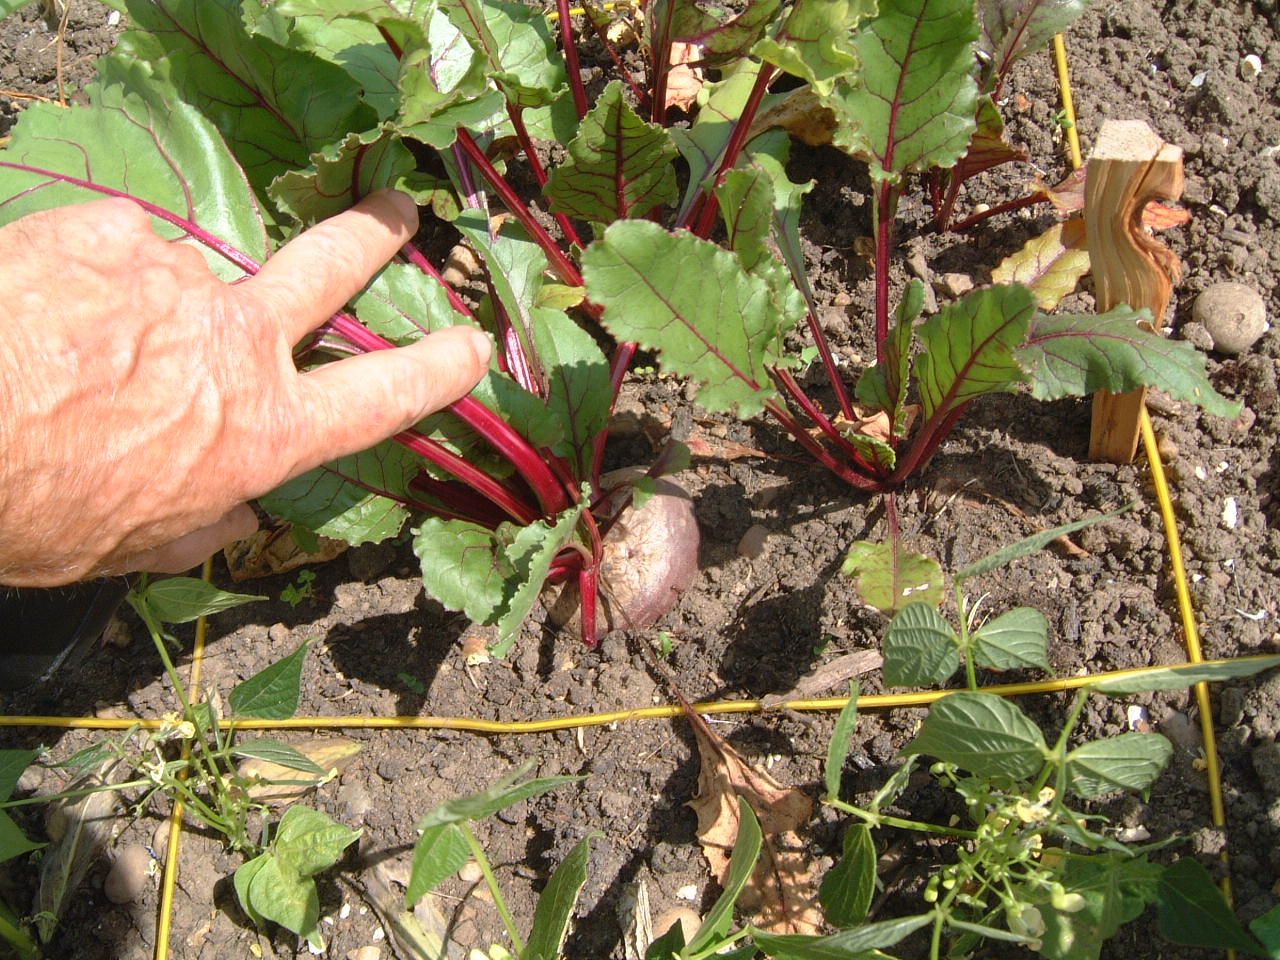
Now the good news! The beetroot are growing, with one looking almost ready, which is good as I transplanted these as seedlings rather than growing from seed in situ.

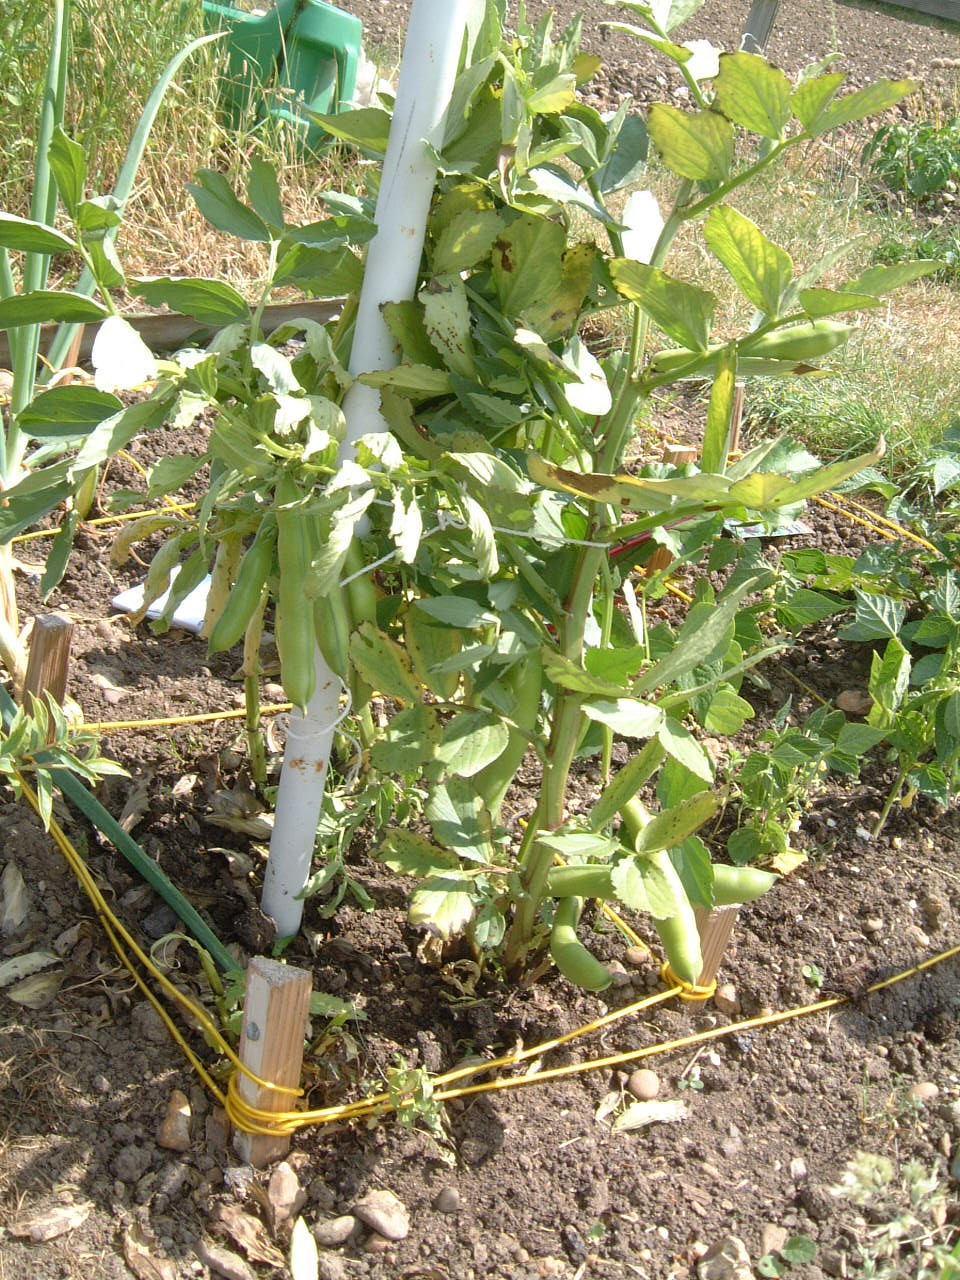
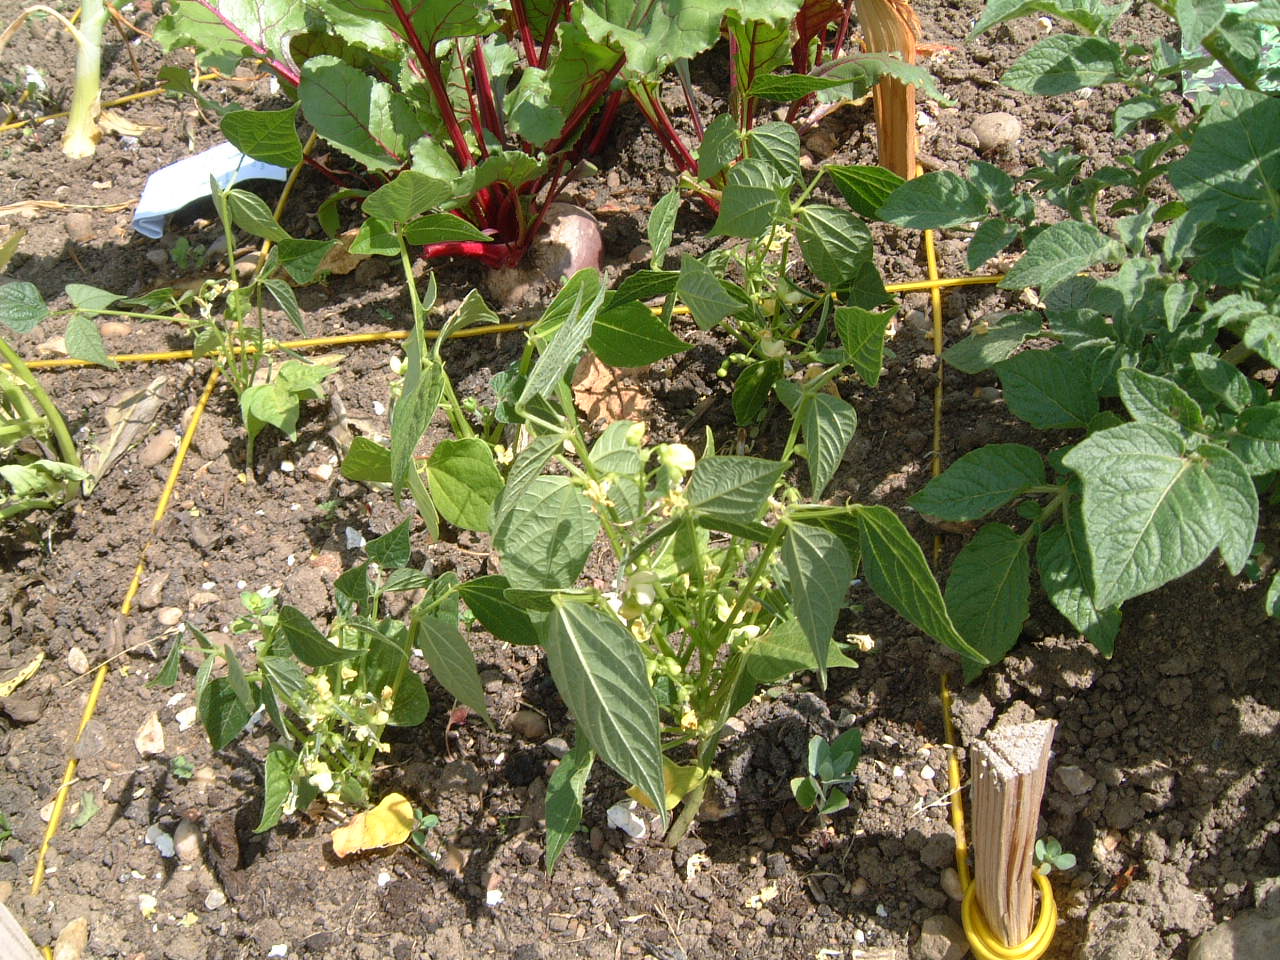
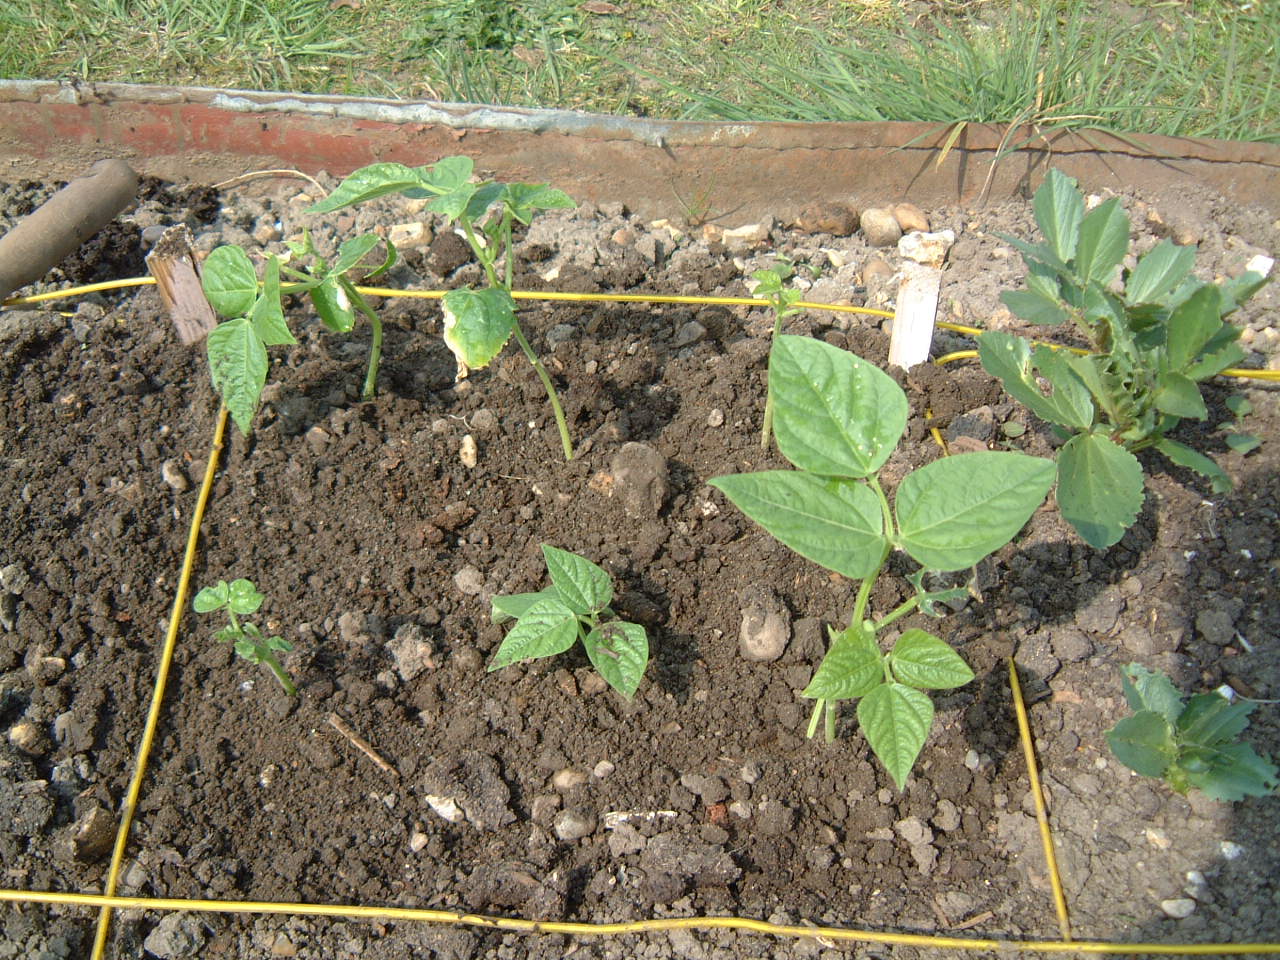
Plenty more broad beans to fill out before harvesting (first picture below) and staking will prevent them for falling onto the French beans (second picture below) which, while quite stunted, do have lots of flowers.


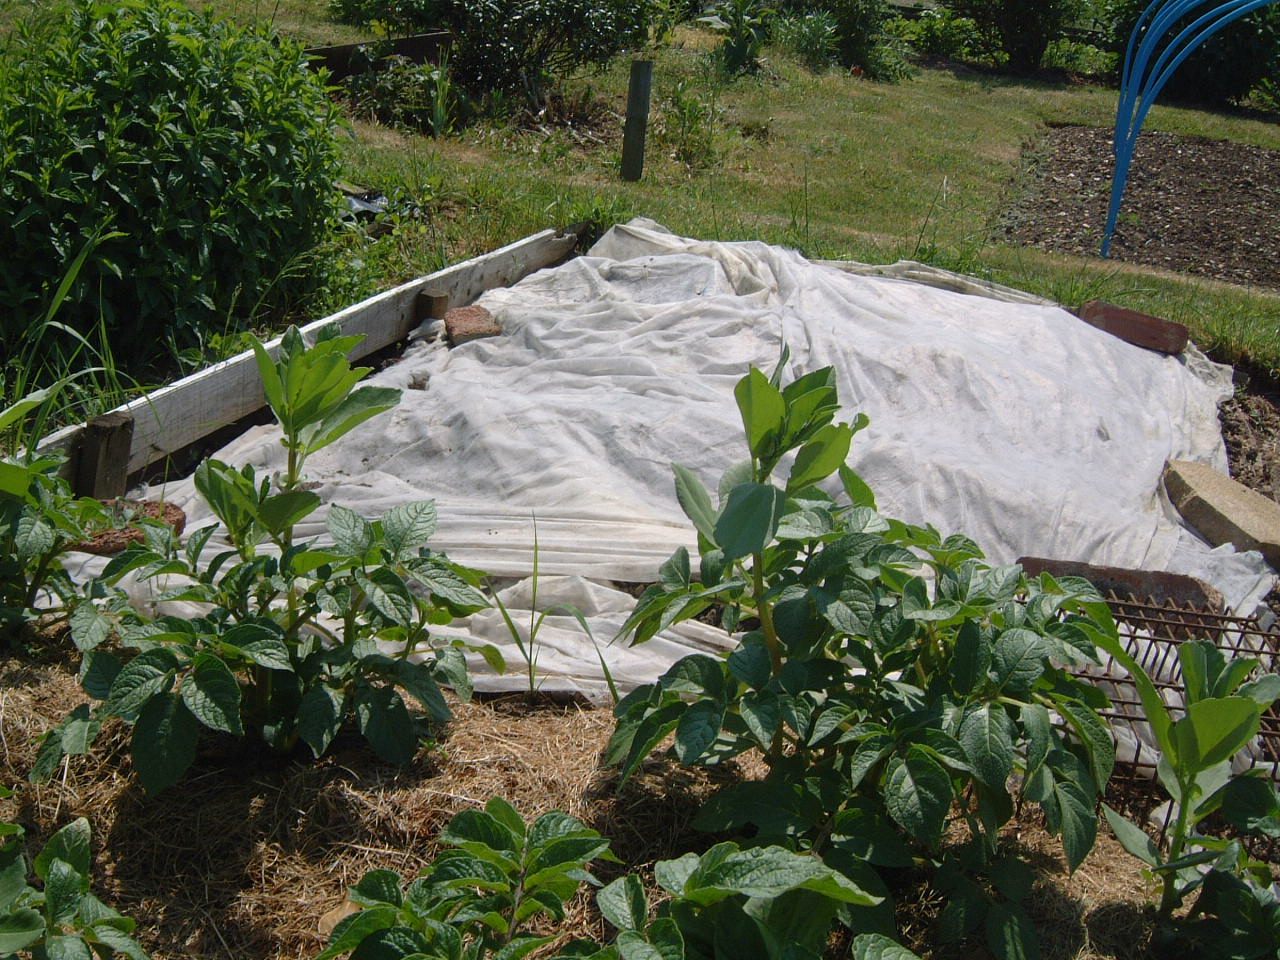
The potato on the right above looks healthy.

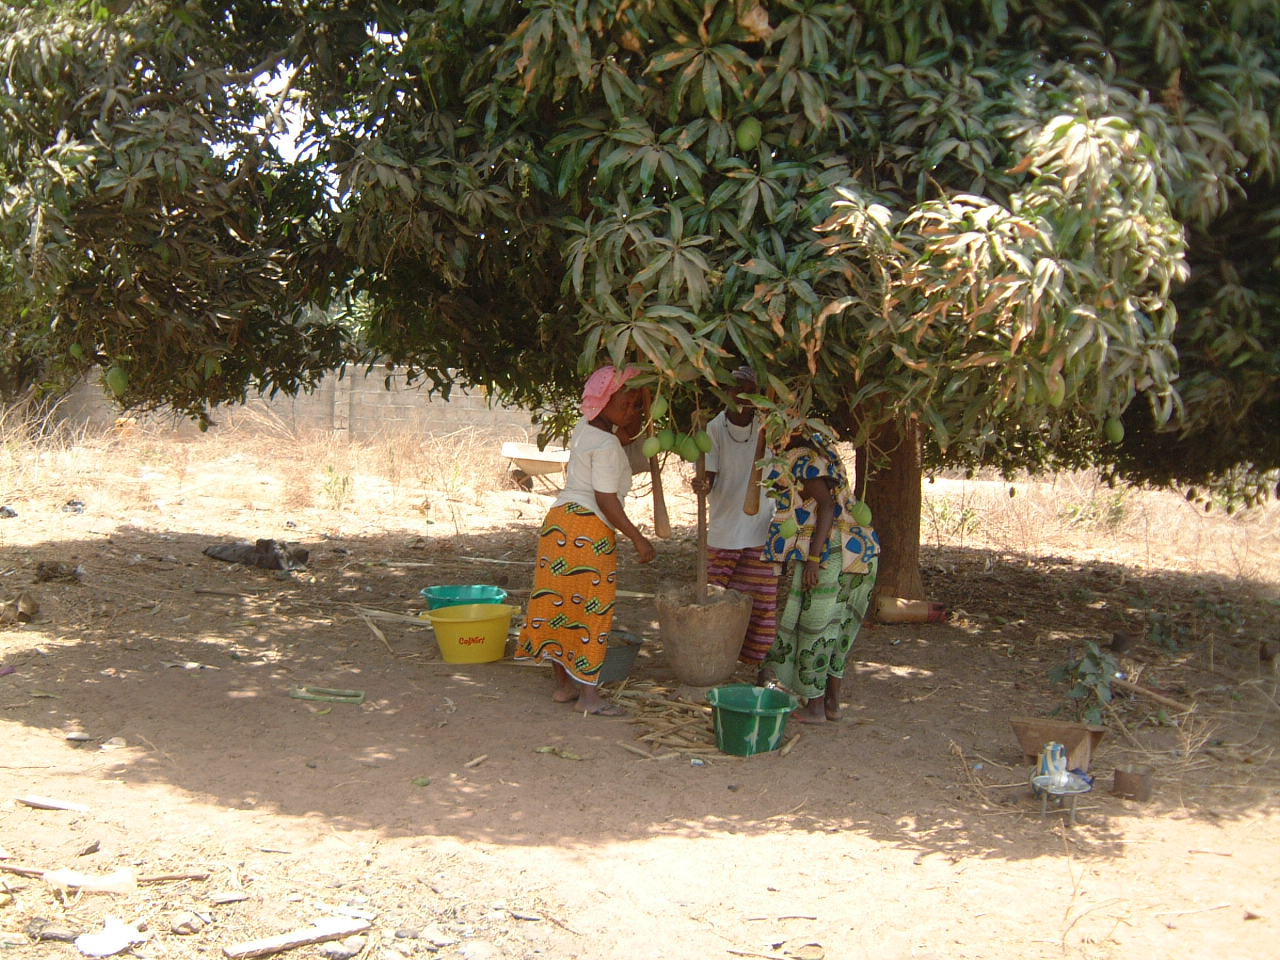
Just as I am taking goodness out of the soil, I must put something back, so before watering I’ve sprinkled a small handful of ‘blood-fish and bone’ over the ground. This organic fertilizer is widely available in this country but its use is global. However, not everyone can just pop to the garden centre to buy a pack. Here are three women I met in West Africa crushing dried fish remains and bones, with pestle and mortar, under a mango tree. Hard work in high temperatures!

To update you on other crops growing on the allotment:-

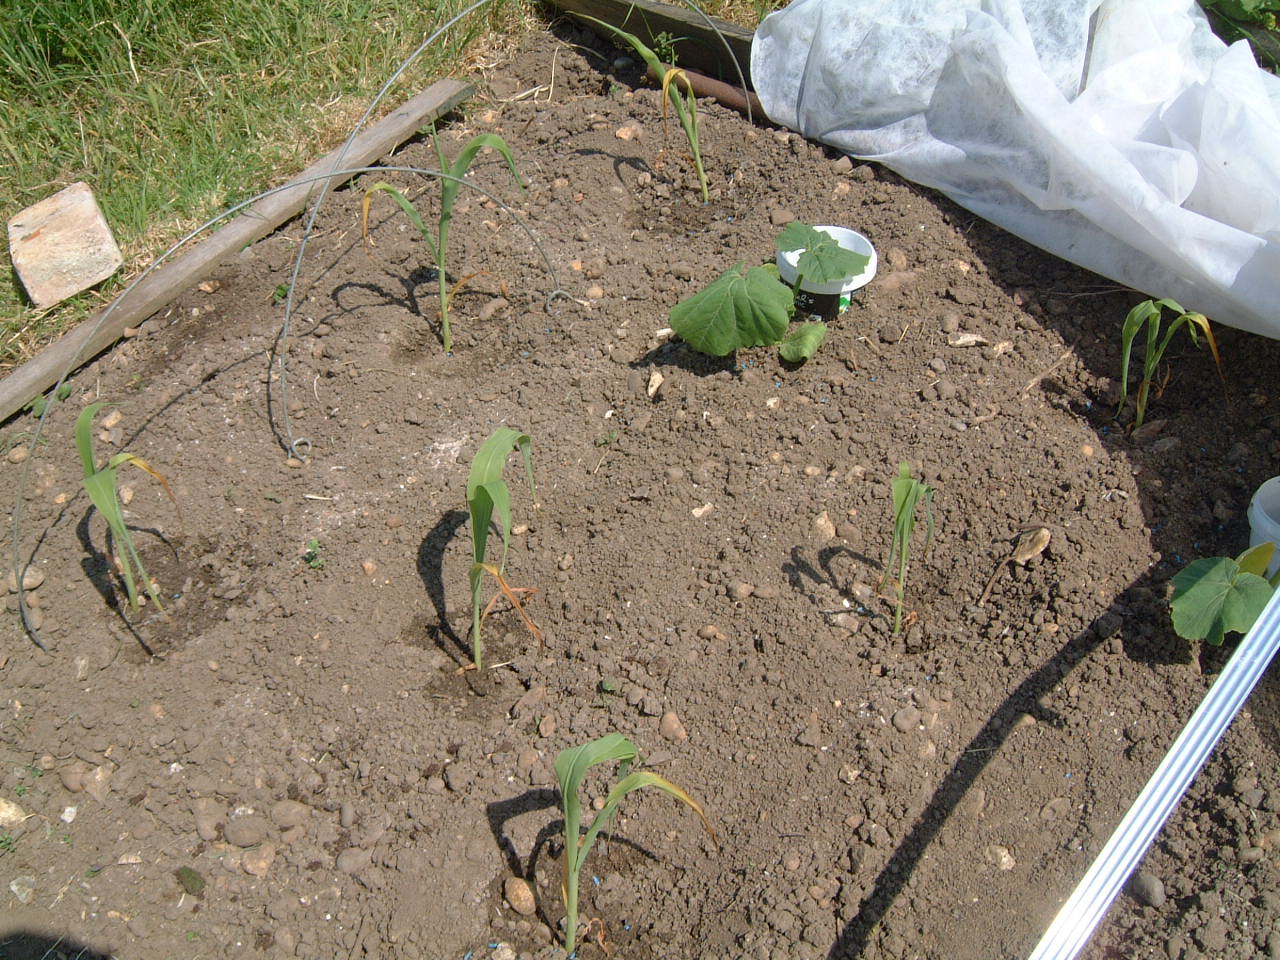
Here are the sweetcorn, with beans just starting to climb beside them and a squash plant to the right and in flower behind.


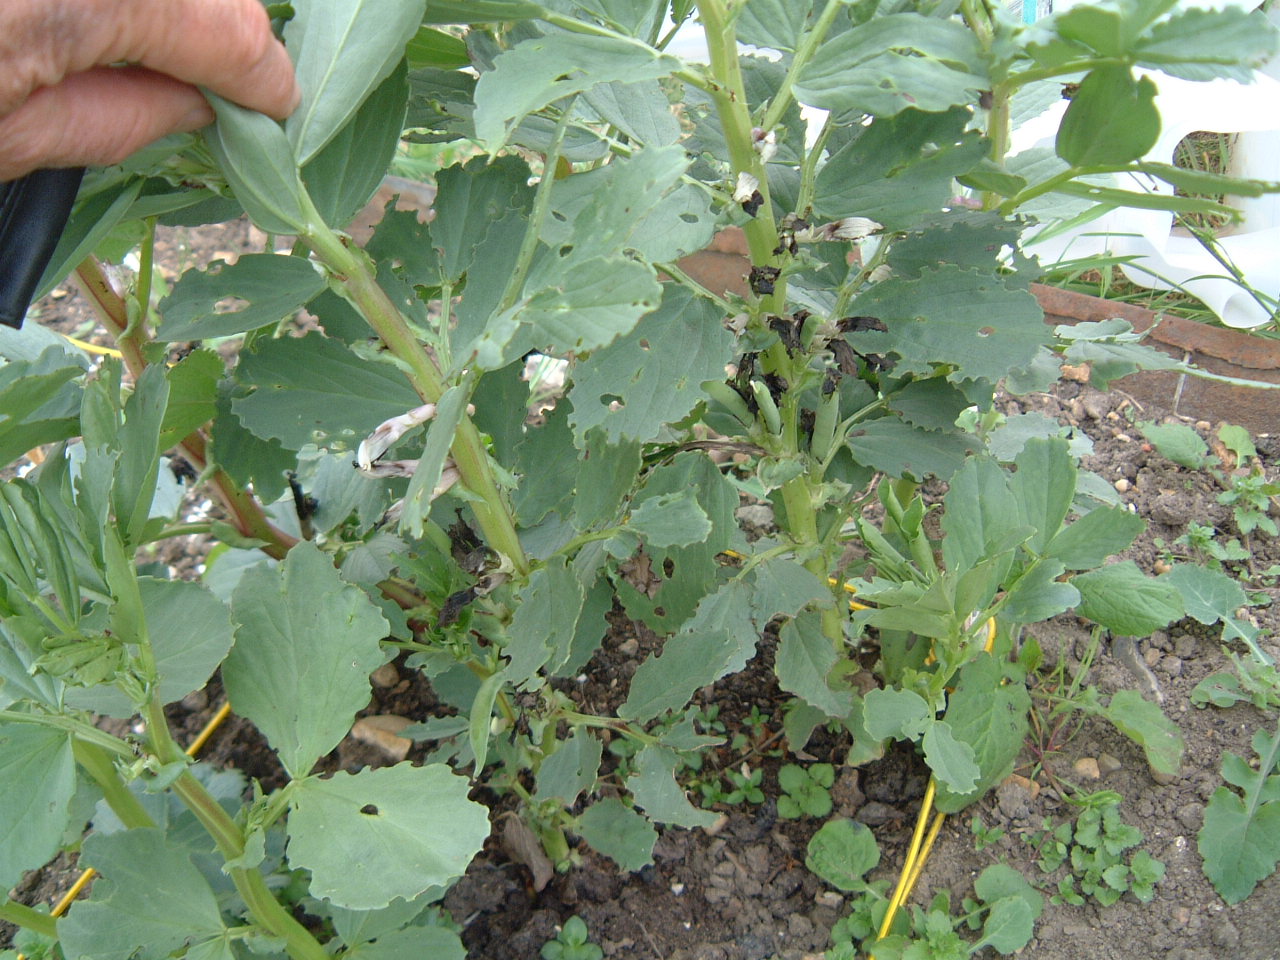
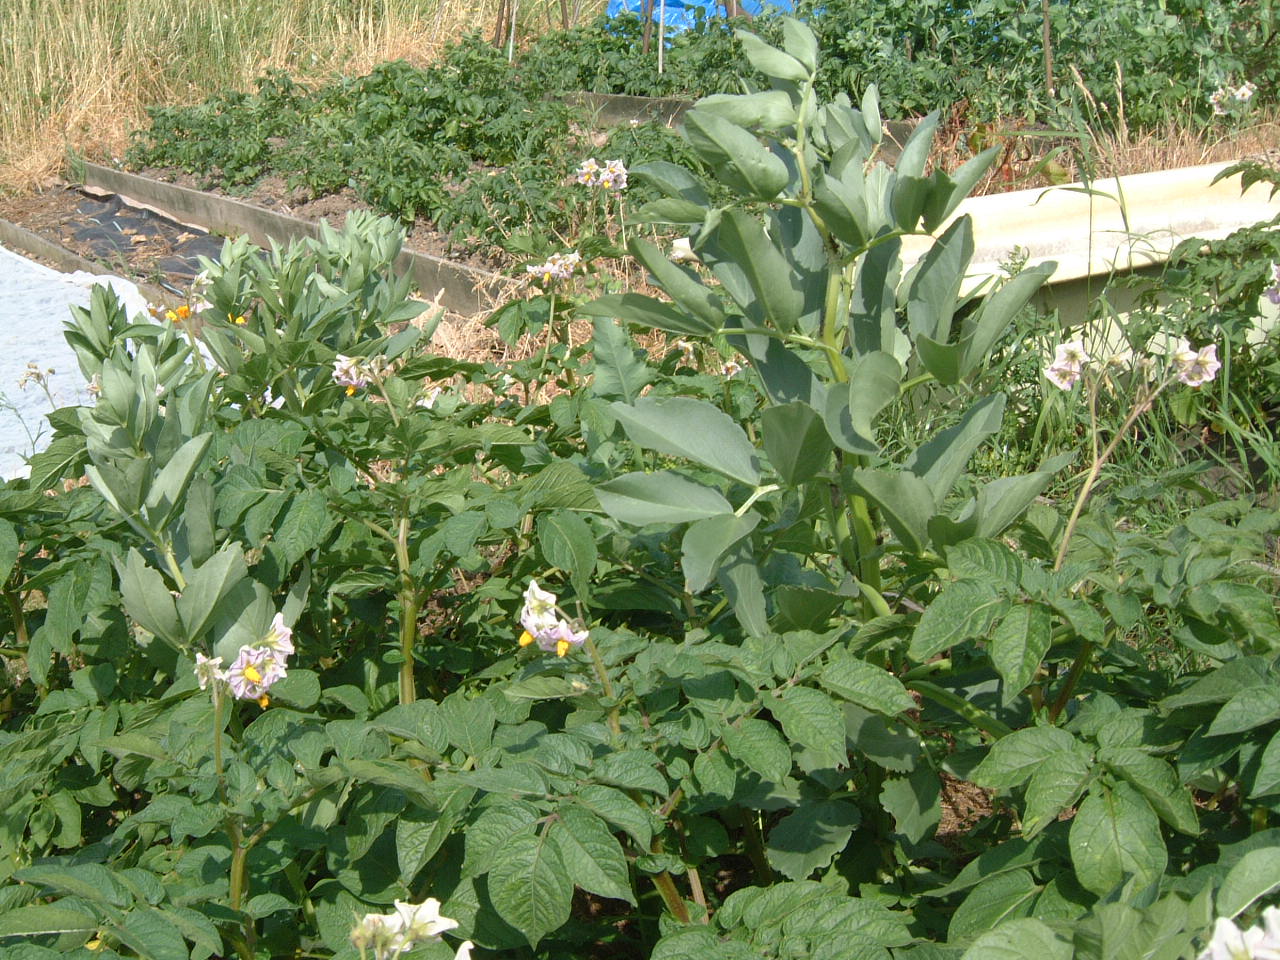
Below, the potatoes are starting to flower with the broad beans growing above them, and beginning to set pods (if you look closely). However, this crop of BB is being attacked by black fly, so I’m going to try to reduce that by spraying with simple washing up detergent.

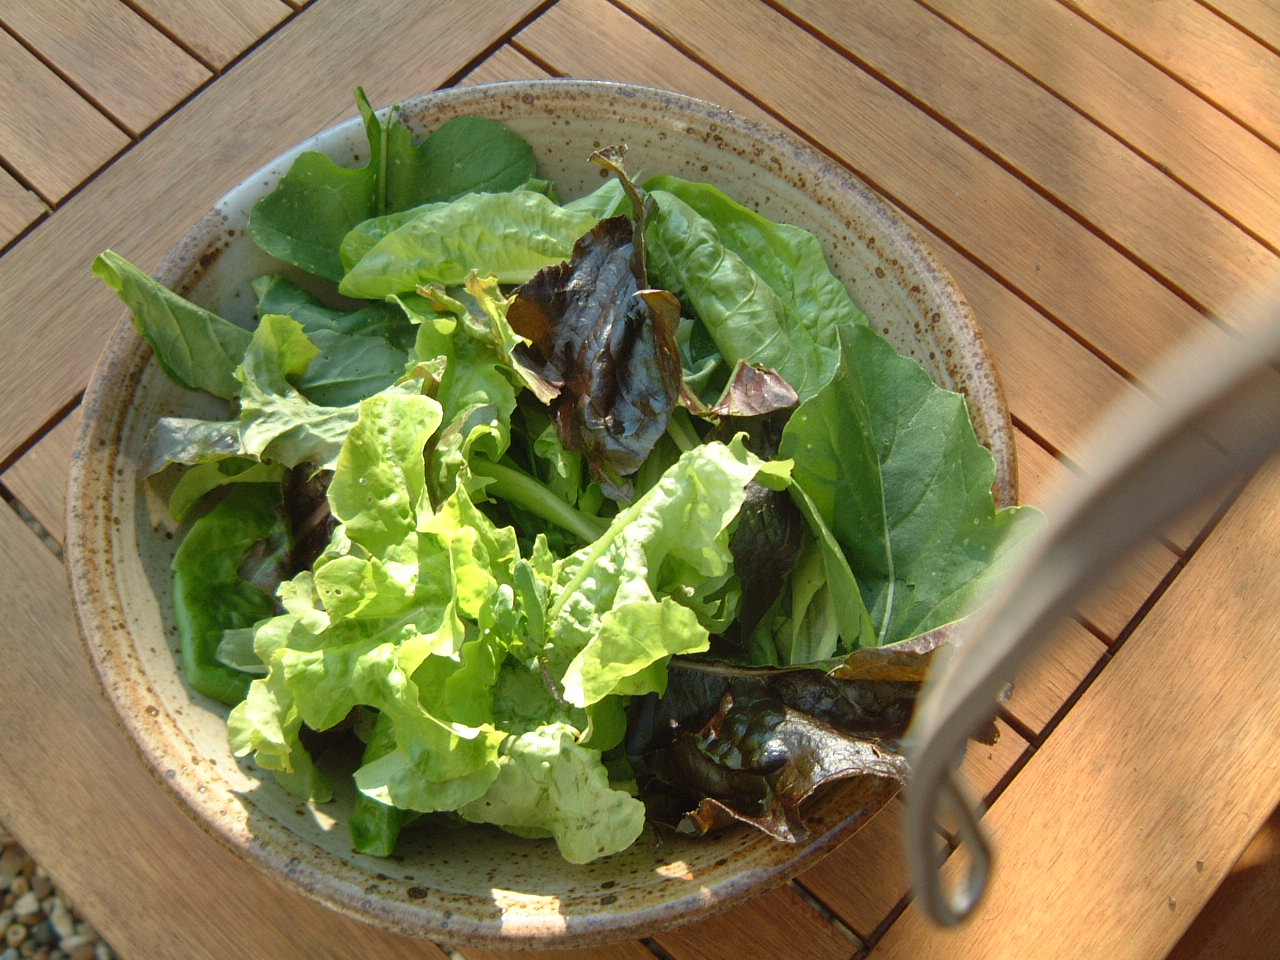
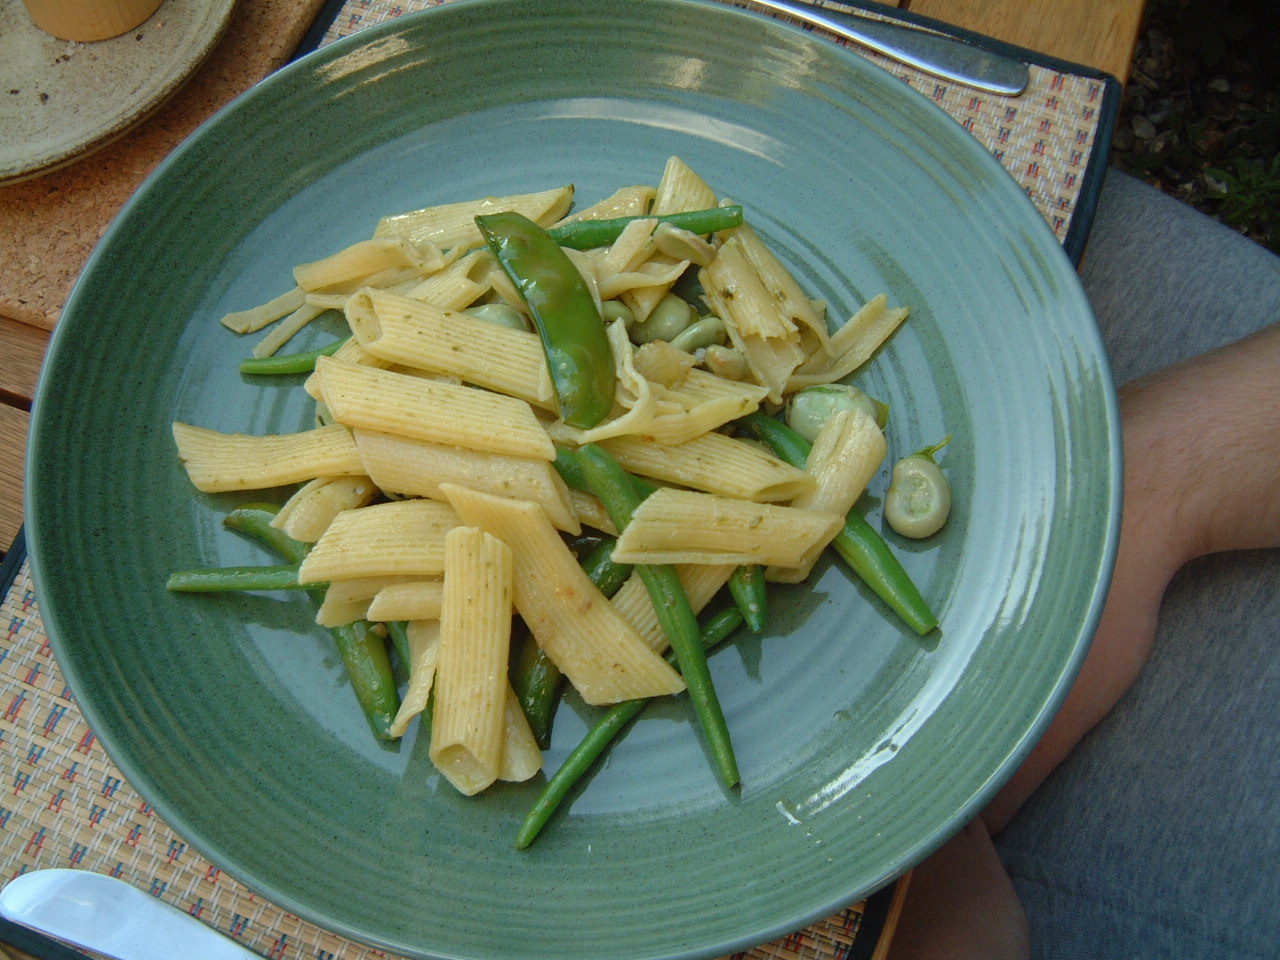
Finally, this is why we do it! A good bowl of mixed green salad and a plate of pasta with broad beans, French beans and peas gently sweated for a couple of minutes in olive oil and garlic; delicious. Really fresh and NO chemicals in growing or preparation!


I hope you are also enjoying your crops; any suggestions for what I should plant in the squares as they become available after harvesting?

Friday, 4 June 2010

Everything is growing, weeds included ...

With a drop of rain and some hot sunny days everything is growing in the SFG, weeds included.

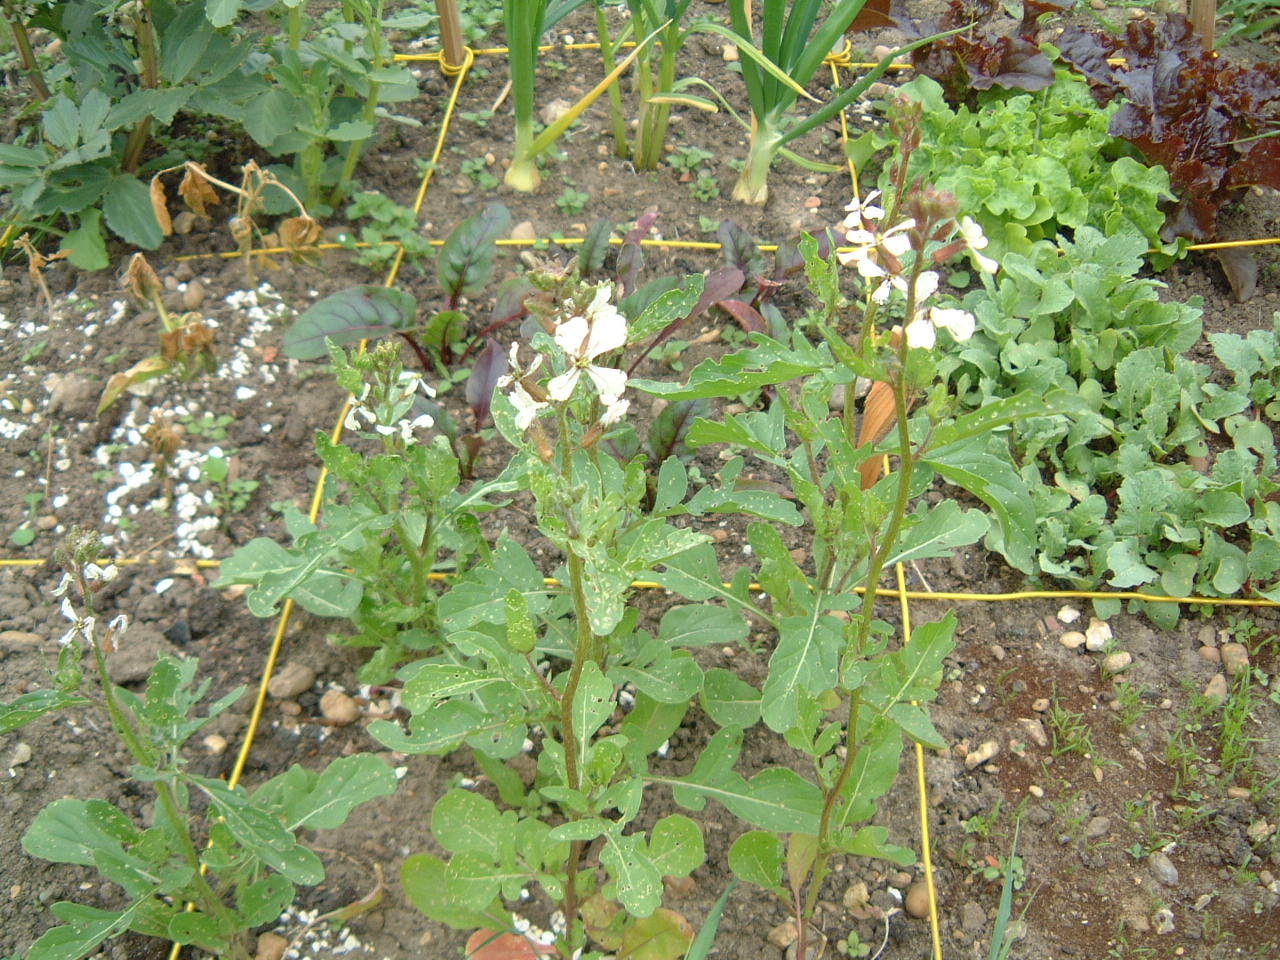
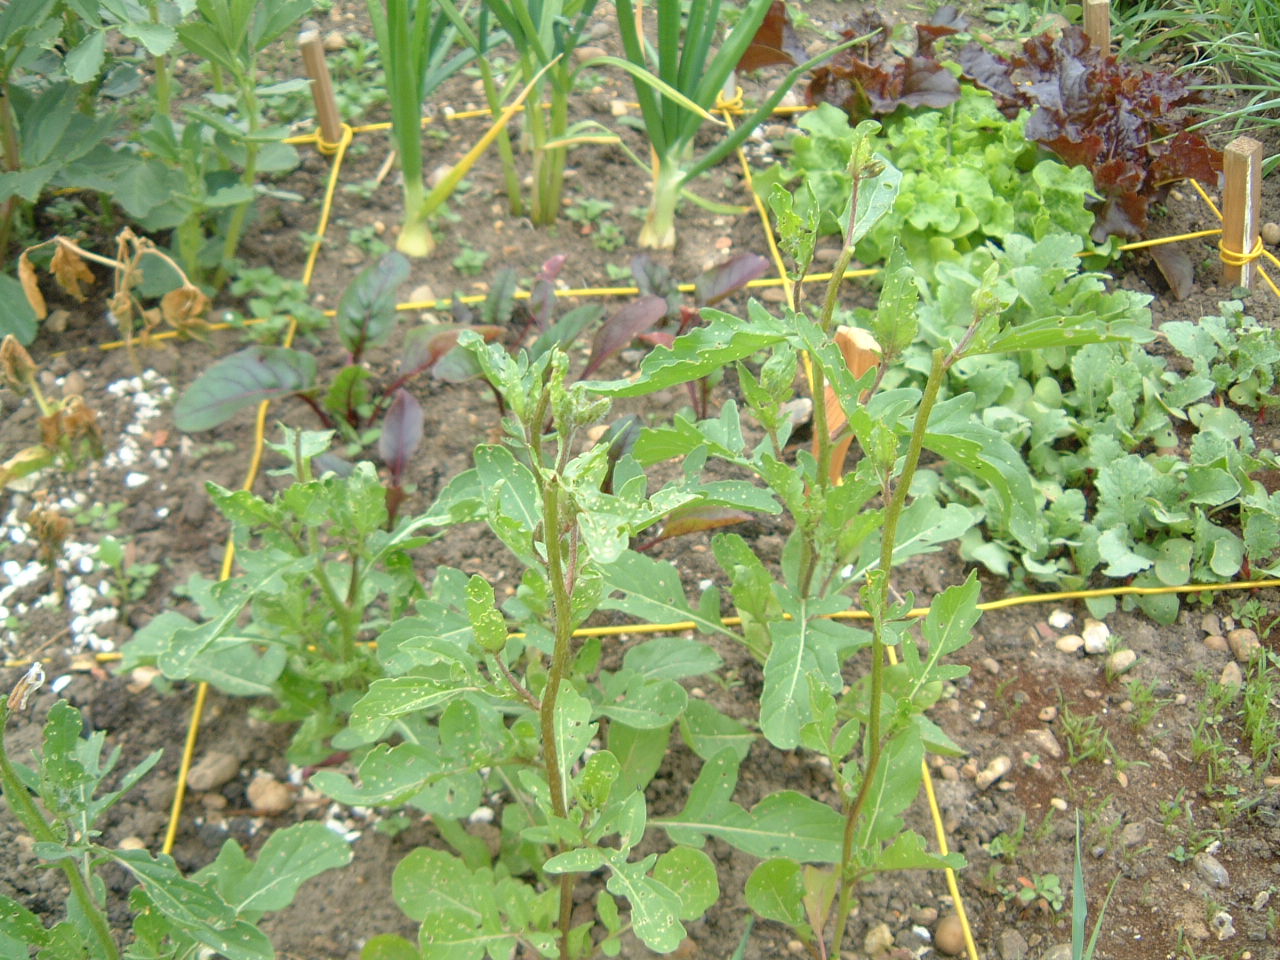
However, as you can see below, the rocket has bolted again and is full of holes from the Flea Beetle, so out it comes.


On a close-up of the rocket the tough leaves riddled with holes are much clearer.


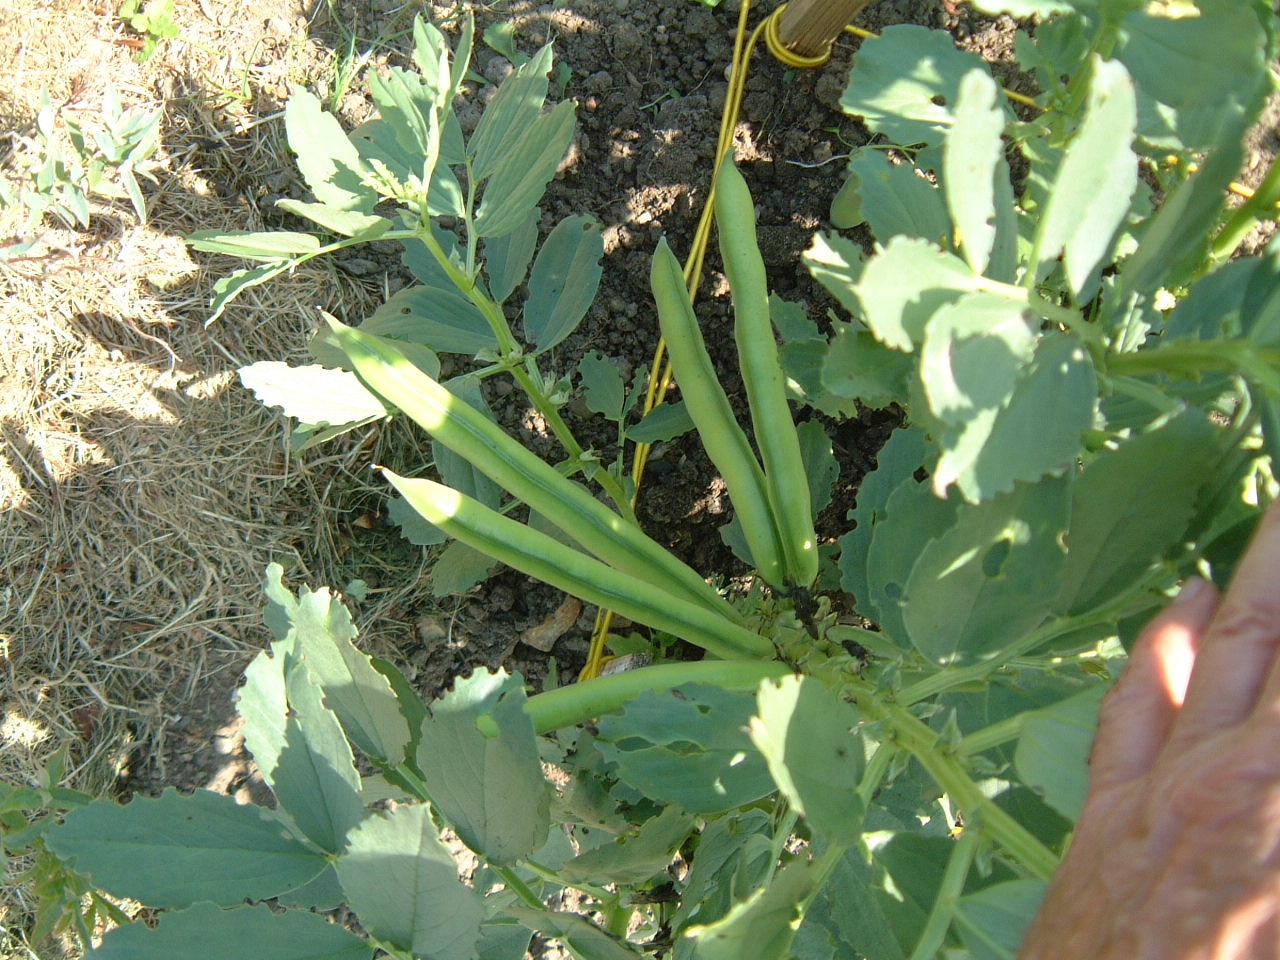
However, the broad beans are doing well and should be ready soon. Feel the pods to get an idea of the size of the beans inside and pick when you think they are big enough for your taste.


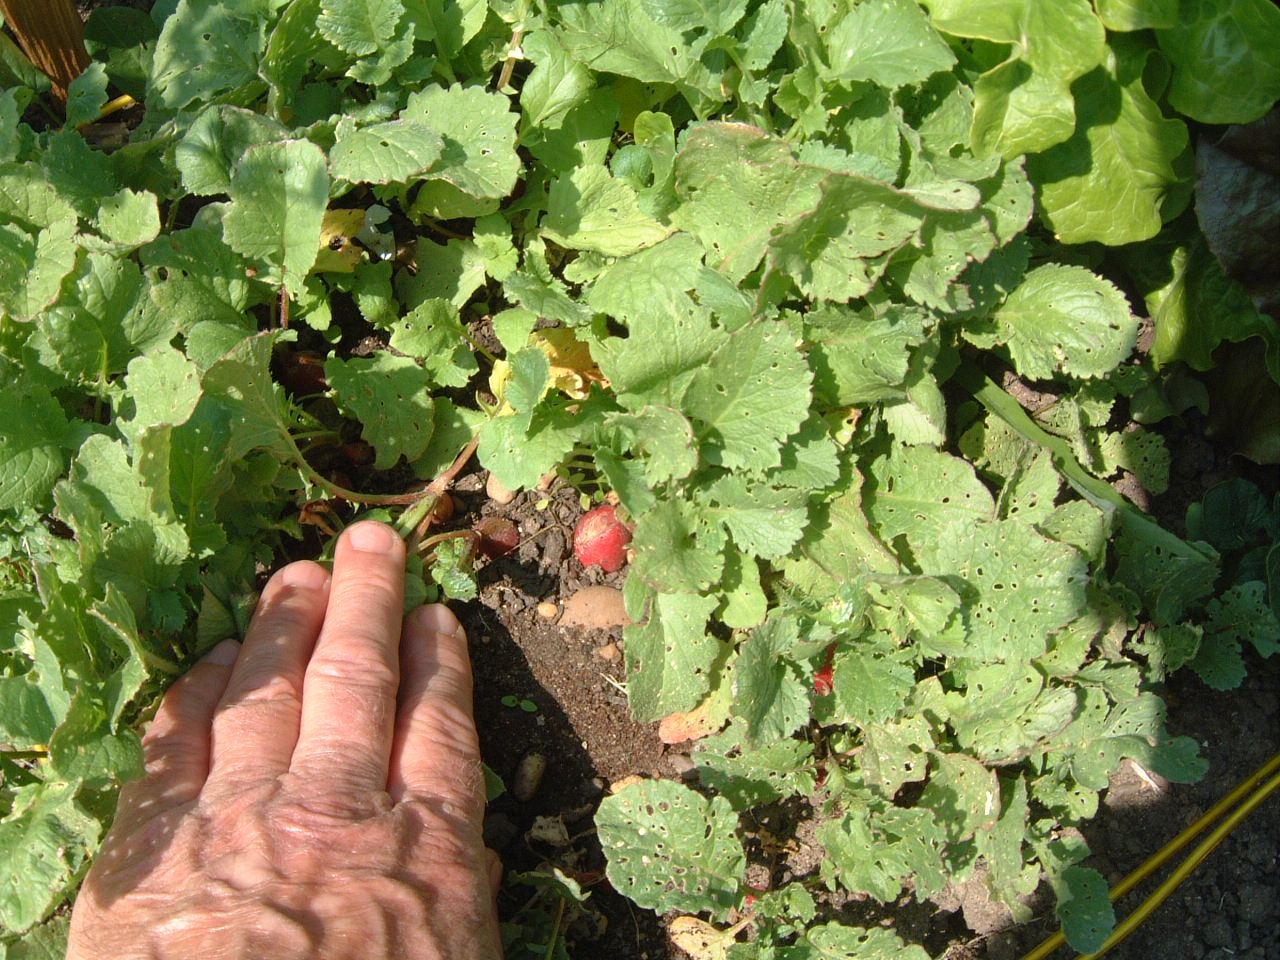
The radishes are also looking good and I may pick some later.


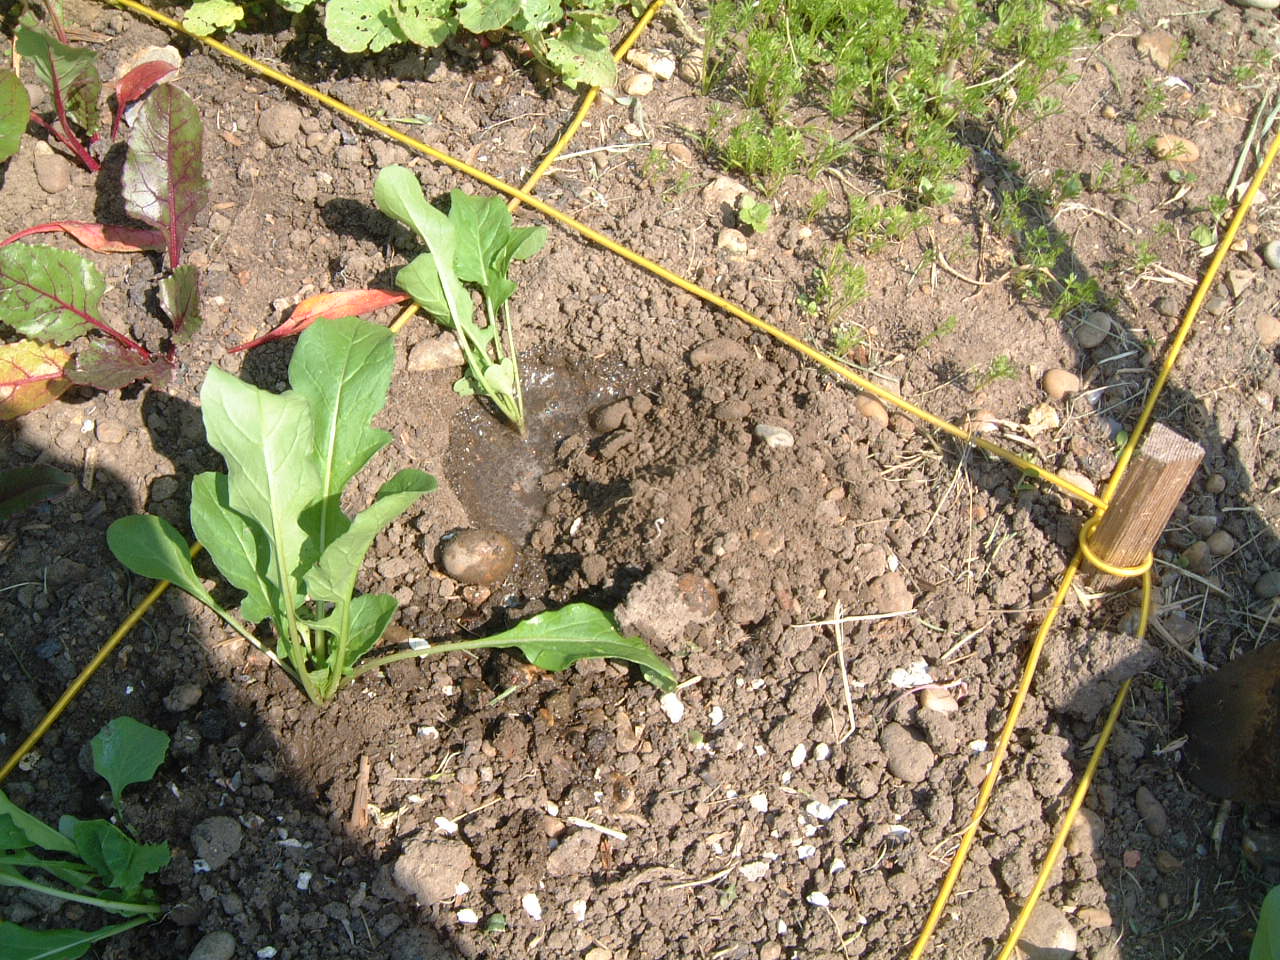
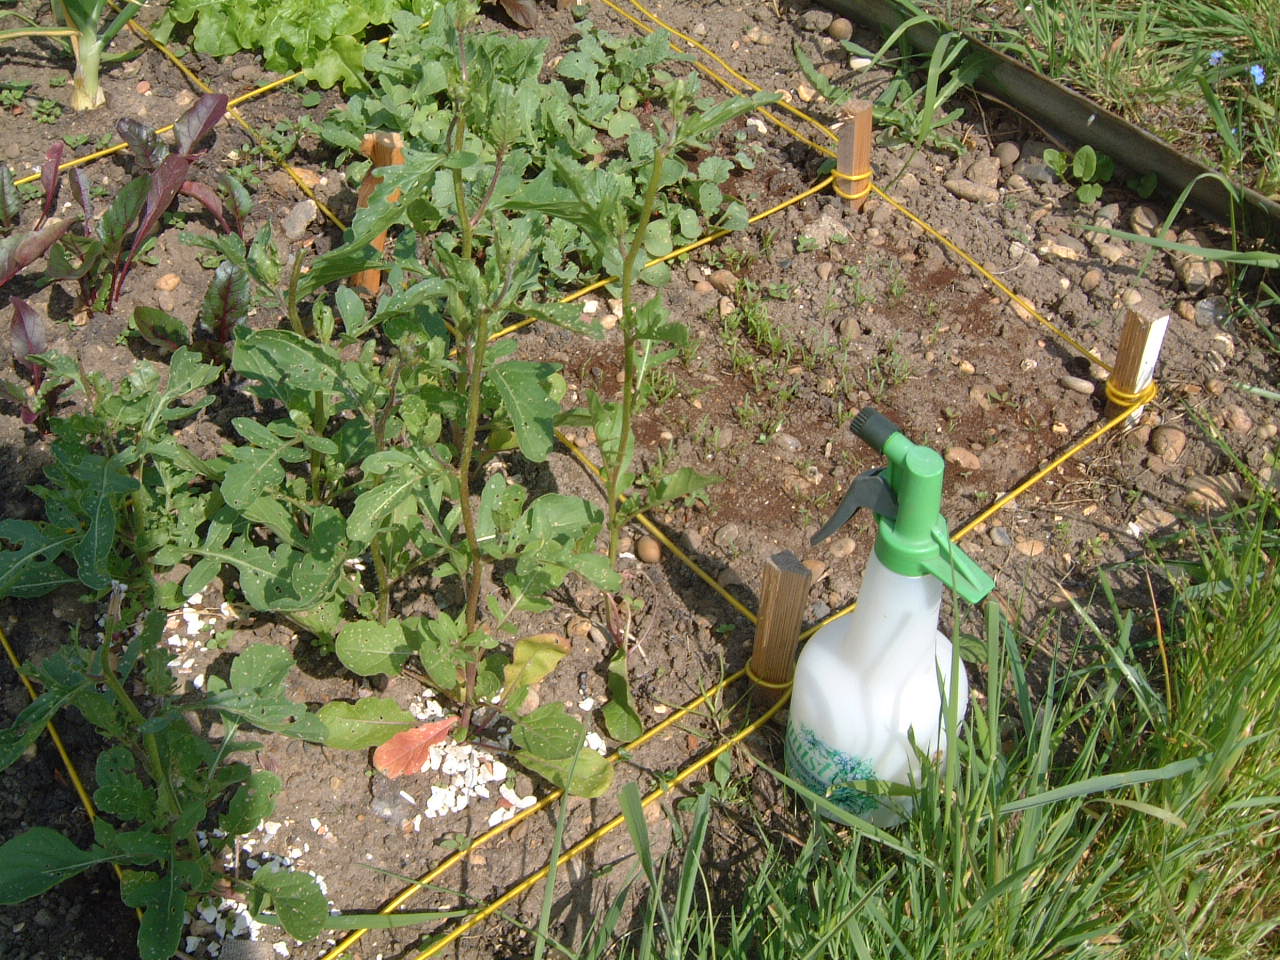
I sowed some rocket seeds a few weeks ago so I’ll transplant into the same bed and try again. The photo below shows two planted and the third being ‘puddled in’ (water seedlings before taking out of seed bed allowing water to penetrate to roots; dig the hole and transfer as soon as possible covering the roots with water, then soil. Especially important in hot weather).


Below you can see that I squeezed 9 rocket seedlings in; the beetroot looks healthy and lettuce ready to eat; carrots have been weeded and watered. But look! The first radishes for supper! (The French like them with butter and salt!)


Now, there may be some Flea beetle in the soil so I’ll have to watch for that in the next few days. However to protect the rocket from attack (there are some on the radish), and carrot from carrot fly, I’m going to cover with fleece.


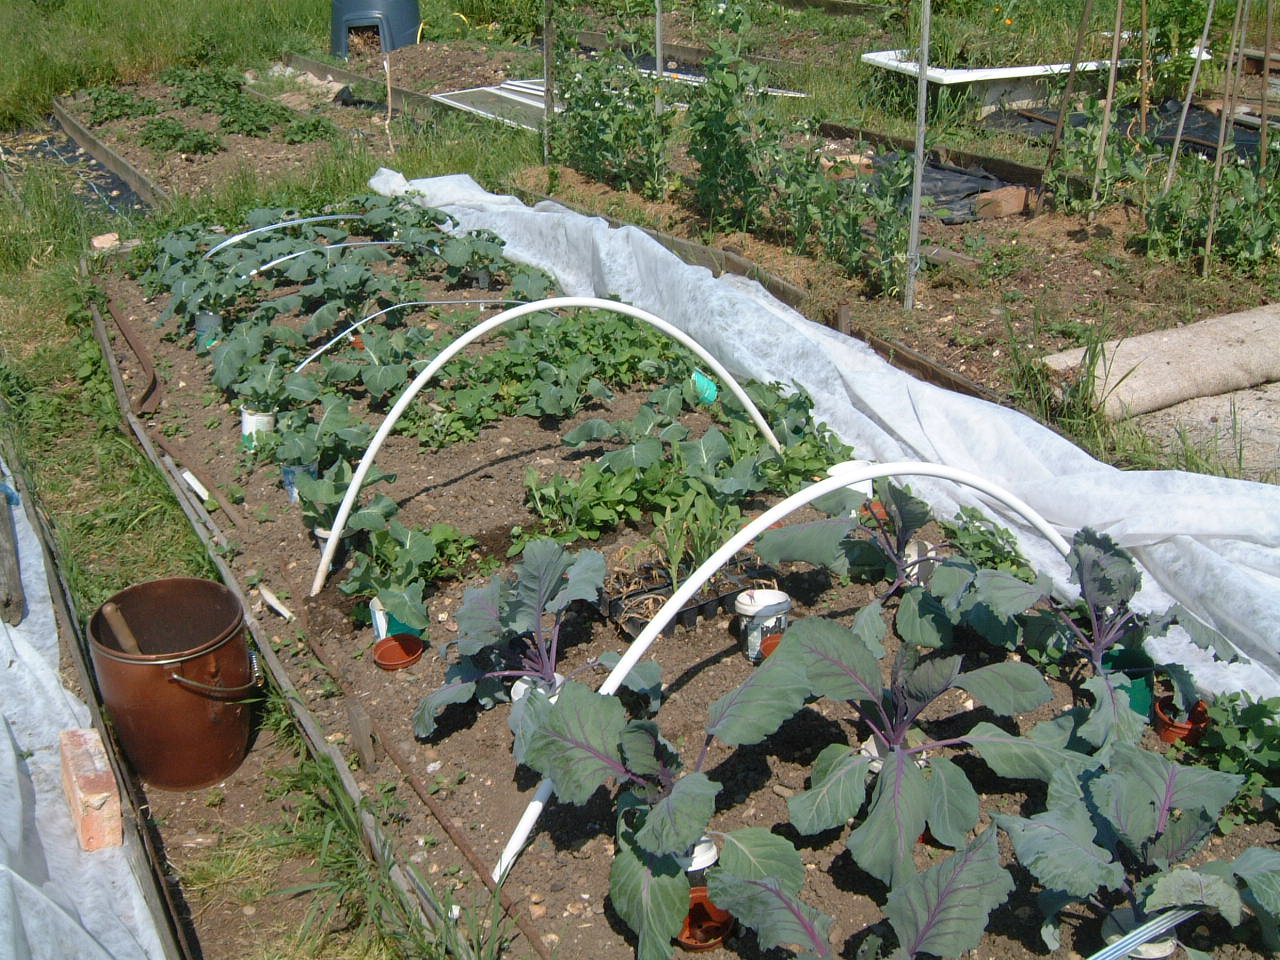
The SFG is just part of our allotment; the rocket came from a row in a Brassica bed under fleece (see photo below) with red cabbage in foreground, then rocket, (just watered), cauliflower in centre and calabrase in the distance. Cut off yogurt tubs were barriers against slugs when plants were small and flowerpots are watering points. This controls where the water goes (right to the roots), reduces water use and helps reduce weeds as they like water as well!


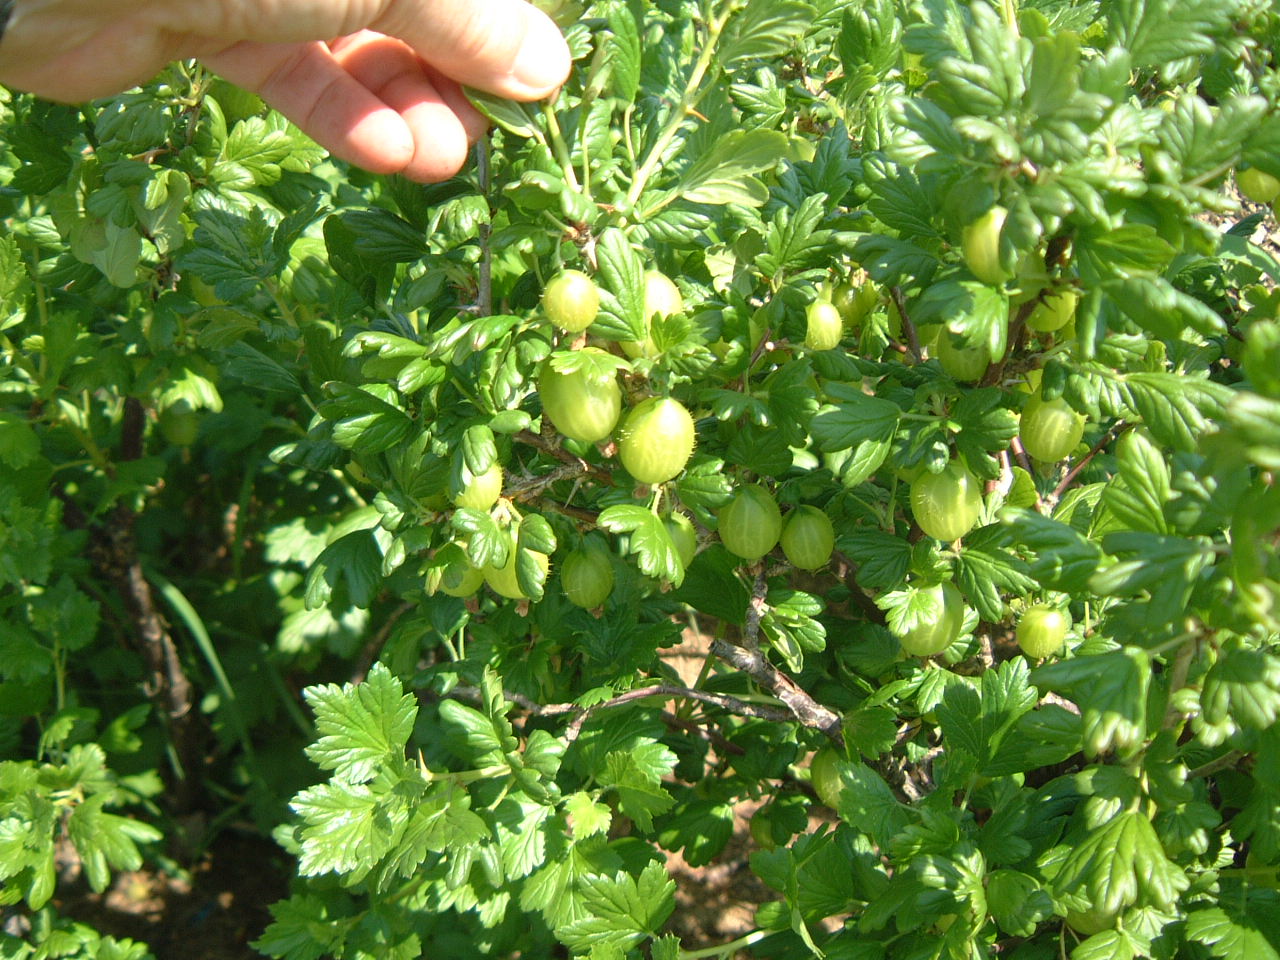
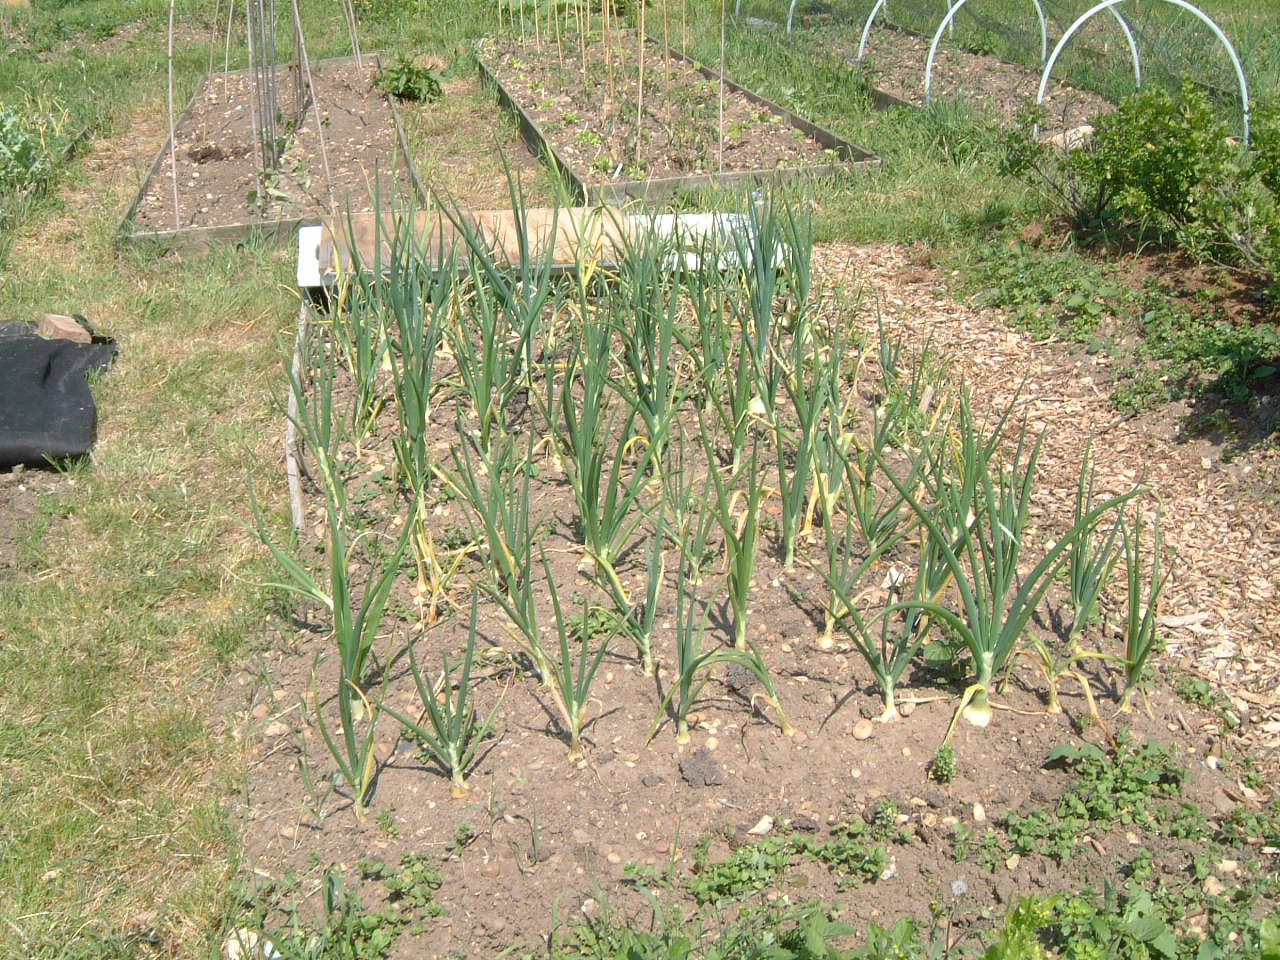
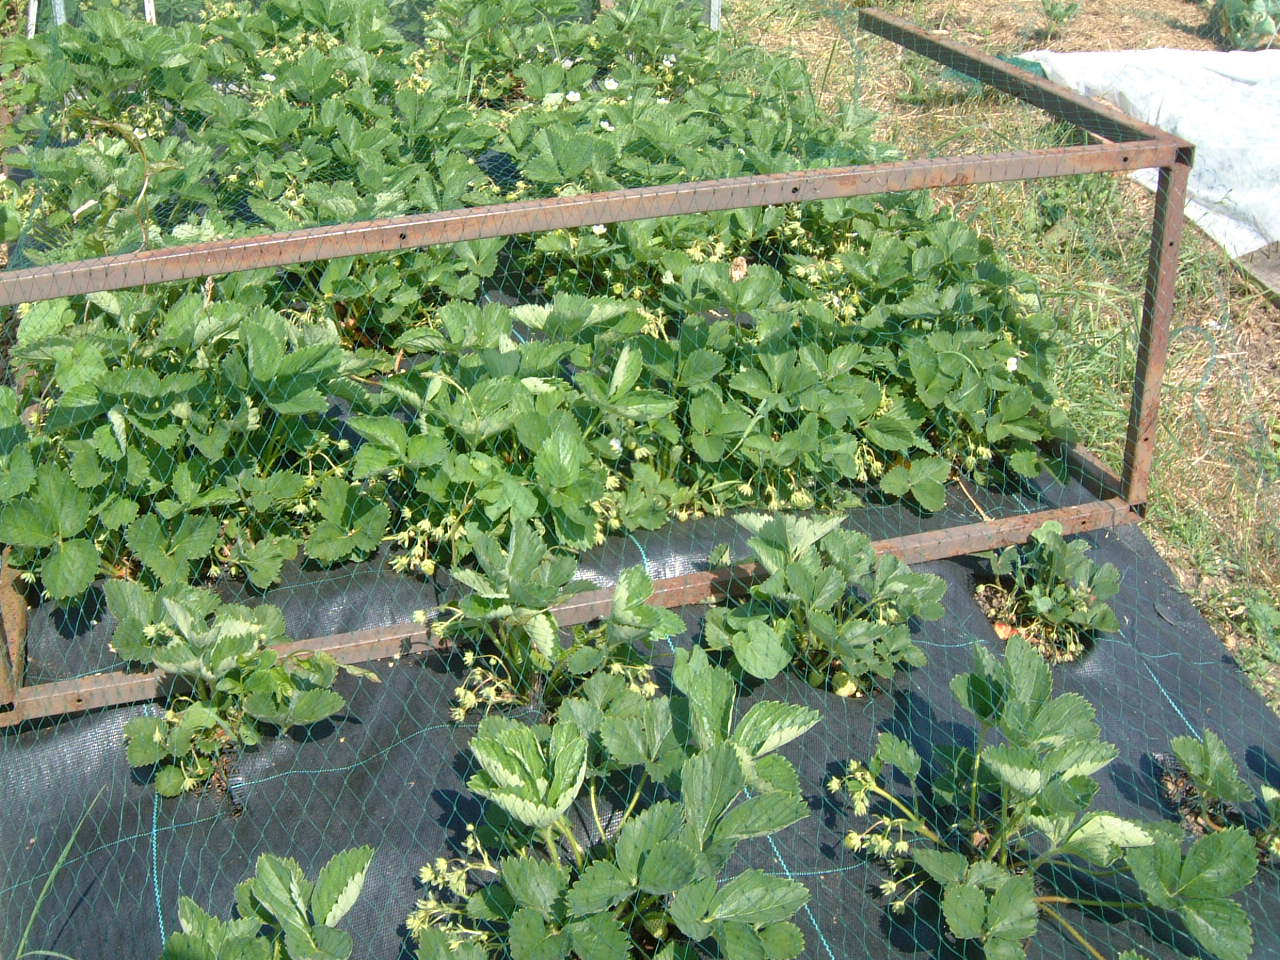
The next three pictures show our gooseberries (nearly ready), onions, and strawberries, also nearly ripe.


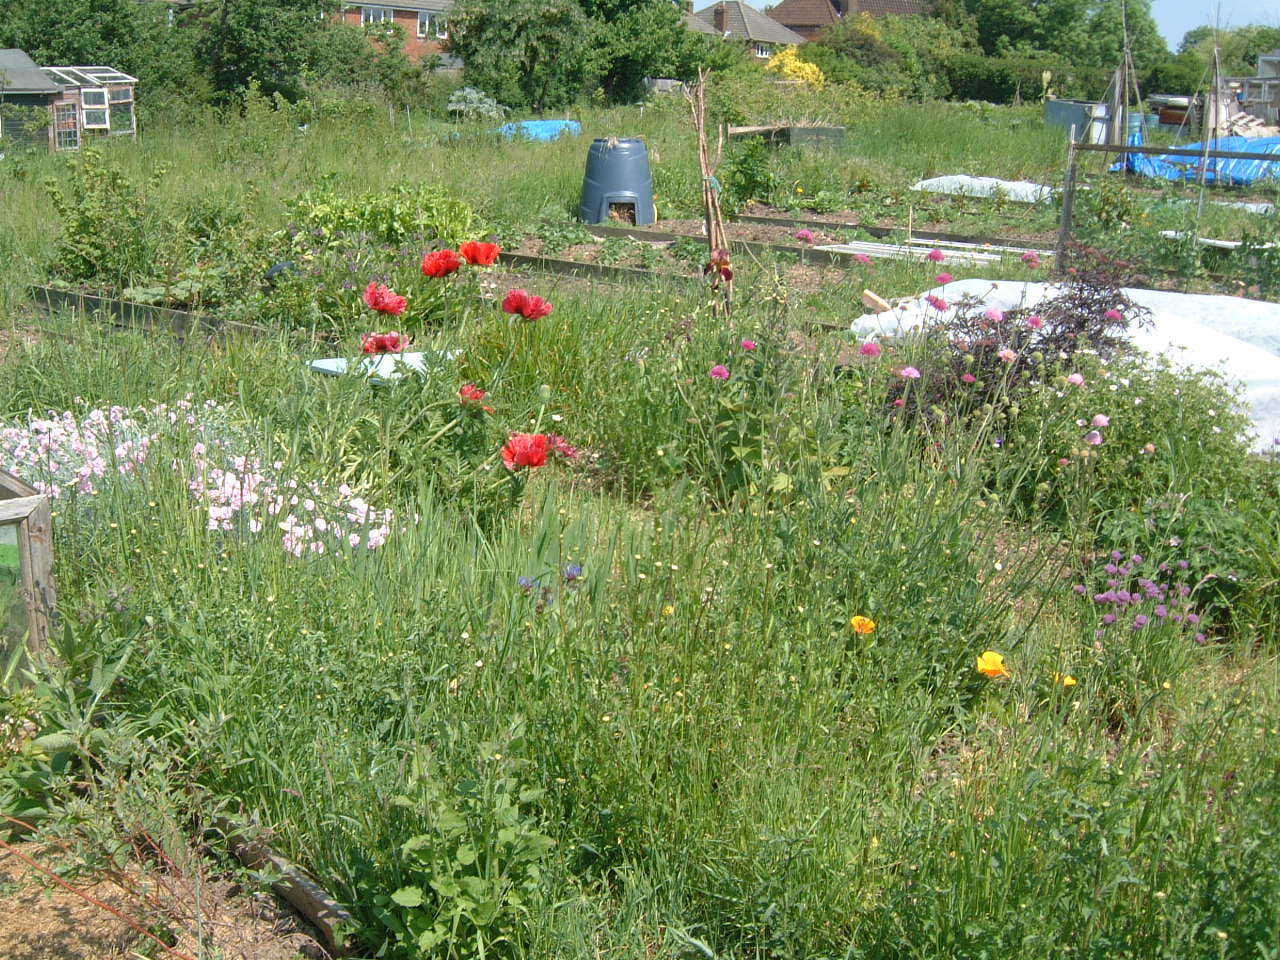
We also have a couple of flower beds which look attractive and encourage pollinating insects.


I’m experimenting with planting plans this year.

In the picture below you should be able to spot three plants slightly taller than the surrounding vegetation. These are broad beans and were planted beside potatoes, but not so deep. The idea is that the beans will crop first and at the same time bring nitrogen up from the deeper soil. When the bean is finished, I’ll cut it off just above the ground, compost the top couple of feet and leave the nitrogen rich roots for the potato to feed on. Notice that I’ve mulched between the plants with grass cuttings to suppress weeds and retain moisture. Tell you if it works later in the year.


The final picture for today shows an attempt at ‘Three sister planting’ based on Native American (Indian) culture. I’ve planted sweetcorn and, as above, put a climbing French bean seed beside each plant. Between the corn I’ve planted squash seedlings (with yogurt watering pots). The theory is that as the corn grows, the beans climb up their stalks (no need to support with sticks) and again bring up nitrogen for the corn. The squash spread between the corn and beans, shielding out the light, preventing weed growth and keeping everything moist. We’ll see!


Right, That’s me for a week or so, by which time I’ll be enjoying food from the SFG.

But....
  • What are you growing?
  • How are you using this blog?
  • Is it helpful or too basic?
Do leave a comment, and tell us about your own attempts at Growing Your Own Food.

And, enjoy the warm weather!

Thursday, 20 May 2010

Some good and some bad news

Since the last blog entry, I’ve had a week away and come back to some good and some bad news.

Good that the SFG grows well, the lettuce (green and red) are almost ready for cutting individual leaves (cut and come again!) 


and the Broad Beans are setting.


Bad in that the French Beans have been killed by frost!


Just goes to show that some plants are more susceptible to the cold than others, just like people! As it happens, I do have a few more plants coming along and will replace these soon.

The other slight problem is that the rocket is flowering and will go to seed soon, and the flea beetles continue to think I’m growing it for them!


To stop the plants going to seed I have pinched out the flowering parts.


And to try to control the flea beetle, organically, I’ve sprayed with a dishwashing detergent solution.


I also sprayed this on the radish as the beetle is attaching there too. Another way to prevent this is to keep the plants covered from germination; it would also help keep the carrot fly at bay.

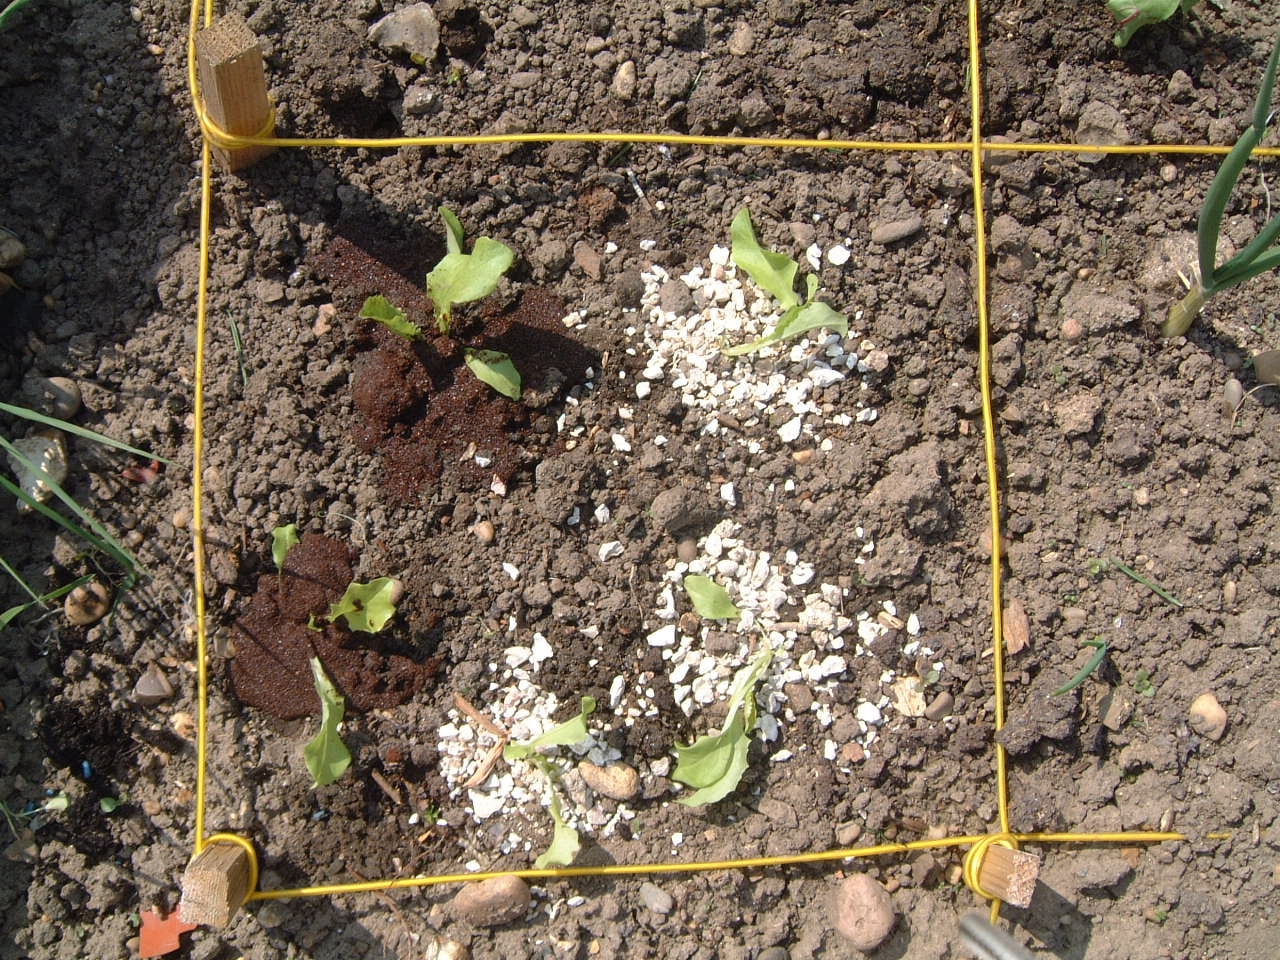
It looks as though both slug controls are working; the gravel around the lettuce and the coffee around the carrots both seem good but it is dry and I’ll need to keep vigilant if it rains.

Ongoing work is to keep weeding (I do this by hand as it’s such a small patch) and watering when it’s dry, to help swell the beans and generally promote growth. Do this in the evening to avoid excessive evaporation.

Whatever you’re growing, now is the exciting time when you can anticipate eating the results. Enjoy!

Friday, 7 May 2010

With a potato in square 9 planting the SFG is complete

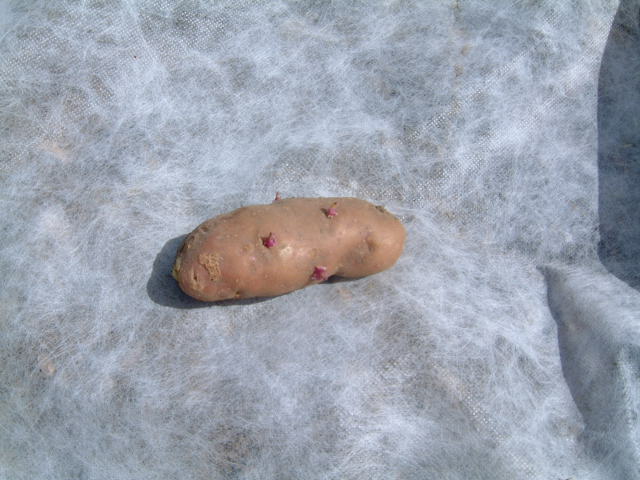
It’s still cool in the wind and at night but the patch is doing well. I’ve not had a lot of success ‘chitting’ the pink fir apple potato. However, as you can see below, there are little sprouts, so I’ve “elected” to plant it today!


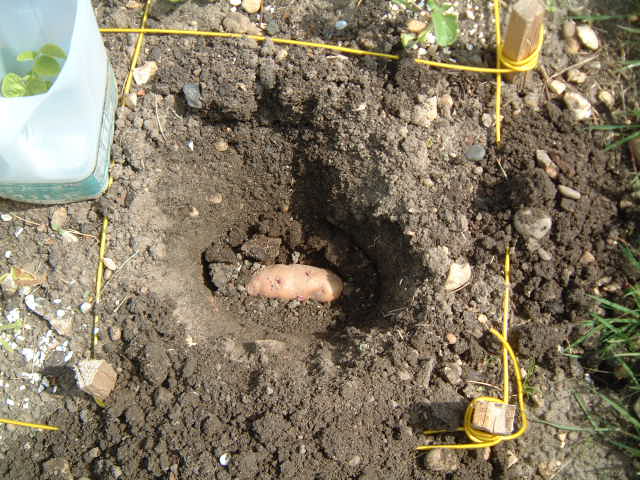
First I dug a hole about 200mm deep and put a little compost in the bottom. Next, I put the potato onto the compost taking care not to damage the ‘chits’.


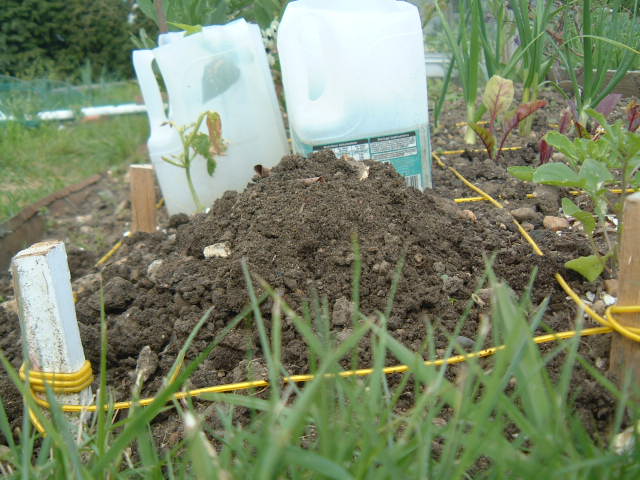
I covered it with some more compost before filling the hole and making a mound over the top.


This effectively means that the potato is deeper which should increase the number of tubers. I’ll ‘earth it up’ (pull more earth up on top) when the shoots show through.

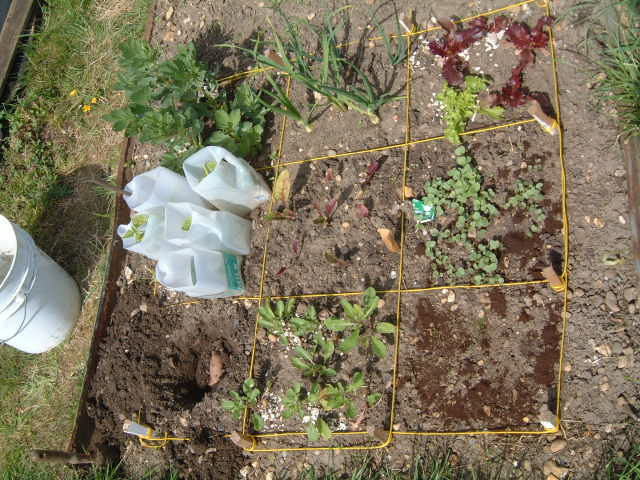
The whole SFG is looking quite healthy.


Lettuce, red and green growing well and the beetroot in the centre established, with radish beside it showing good germination.

The carrots in the bottom right corner (see close-up below) have germinated but are still small; the brown stuff around them is spent coffee.


In the next photo you can see that the rocket in the bottom-middle square has grown, but a careful investigation shows that the leaves have little round holes in them. This is evidence of attack by the flea beetle and the best organic way of getting rid of them is to spray with soapy water and cover the plants with fleece. This could also attack the radish and as carrot fly could get at the carrots I may cover all three with some fleece.


As for the onions, the photo below seems to show that the onions on the left, planted from seed, are doing better than those on the right, grown from sets. We’ll see. The garlic in the centre looks okay but has split into several growing spears.


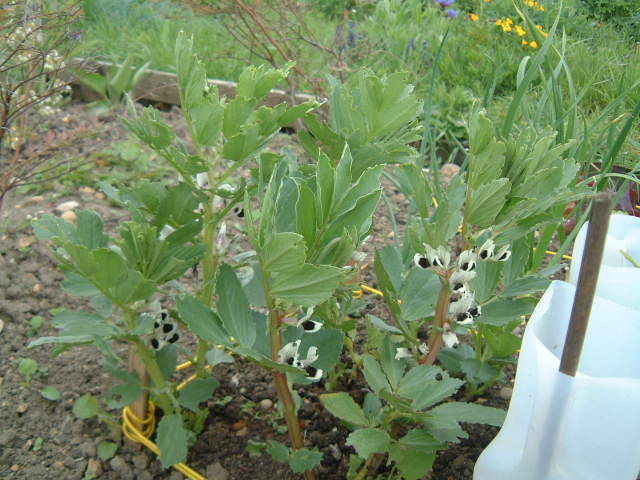
Finally, it’s good to see the blossom on the broad beans in the top left corner of the SFG although the saw-tooth edges to the leaves indicates that they are being eaten by another beetle; more soapy water needed! When grown commercially fields of broad beans give a lovely perfume, if you’re out walking you might notice this heady aroma.


How’s your patch?

Sunday, 18 April 2010

8 of the 9 squares planted

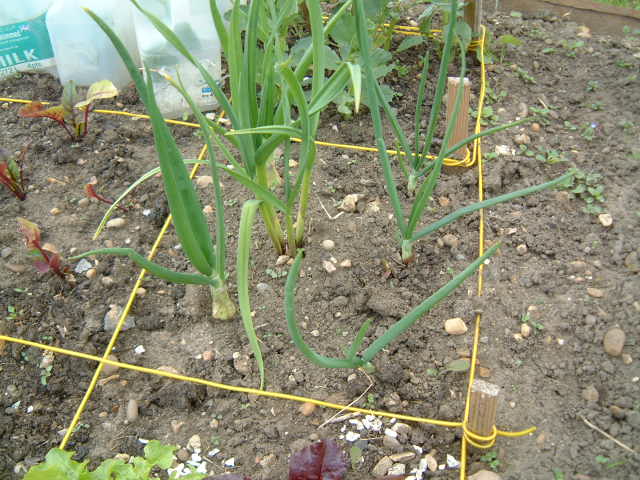
Since the last entry the weather has generally warmed up but the nights are still cold. The onion bed shows signs of progress; the first photo has all three onion sets shooting well (in foreground) the garlic in the centre making good growth and catching up with the onions grown from seed in the background.


I’m going to take a chance on the weather being kind and plant most of the seedlings today. First beetroot. Most books say that this cannot be transplanted and seeds should be sown in situ. I transplanted some ‘thinnings’ last year and they grew so I’m trying again. When I took off the black covering the ground was weed free and ready for planting. I thought a circle of beetroot might look nice in the centre of a square plot so made some holes with the end of a broom handle, just about 6cm/ 2.5 inches deep and about 8cm/3” apart and filled them with water.


I also watered the seedlings before separating them to avoid damaging the roots.


Keep as much compost around the roots as possible before planting in the hole, holding the seedling by the leaves, and firming the soil around the seedling. This technique is used in all transplanting, with larger plants it used to be known as ‘puddling’.


Next the French beans which I potted up a couple of weeks ago. The photo below shows one seedling planted, a hole ready for the next and a seedling in a pot.


Here I am keeping all the compost in the pot around the roots when I plant. This avoids disturbing the roots and the compost will maintain moisture whilst the plant is growing. Below you can see all six plants in position; this may be a bit crowded but I can always take a couple of plants out later.


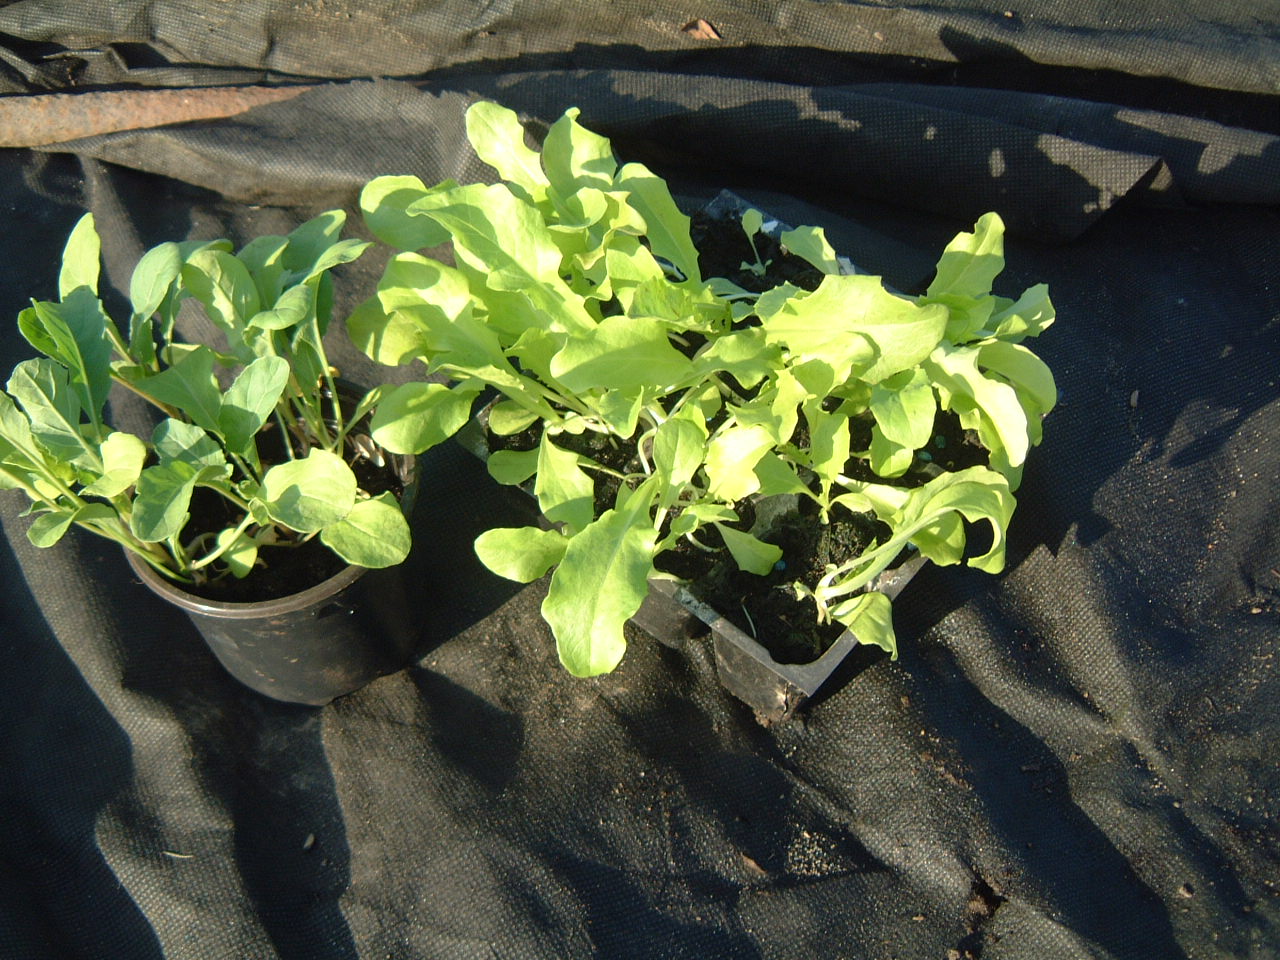
The rocket (in round pot) and lettuce seedlings look healthy - see below.


I’ve transplanted the rocket into a block and put the odd seedling in the centre rather than waste it. In the photo below, the seedling at bottom left clearly shows the compost around the root and the water in the hole next to it.


I planted the lettuce in the same way but left a bit more room around and between the seedlings as they will grow laterally as well as up! The photo below shows the seedlings planted and some brown and white stuff around them...


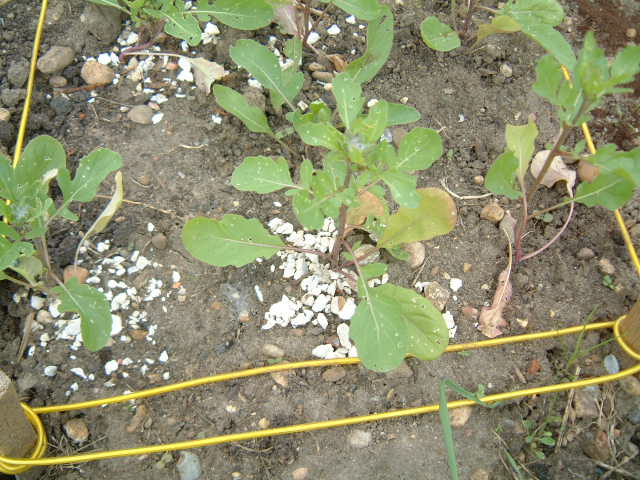
... a bit of an experiment here; slugs and snails love tender young seedlings, especially lettuce, but I don’t want to use slug pellets as I am trying to be organic. The brown stuff is coffee grounds and the white is small angular gravel. I’ve not used coffee before but I’m told that slugs don’t like it so stay away from the plant. They don’t like slithering and sliding over rough gravel either and I used this successfully around runner beans last year. Watch this space to see if either works!

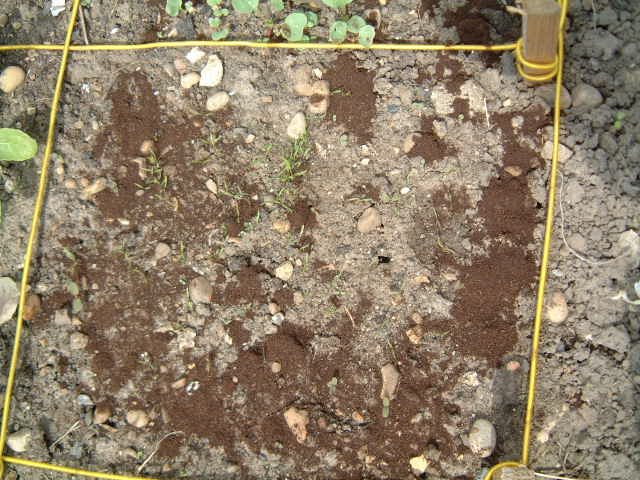
Now I just need to plant the carrot and radish seeds. As the seeds are so small a photo would not show them. I raked the ground to make a fine ‘tilth’, lightly hammering the large lumps of soil with the end of the rake to break them up, then raking again. It’s very easy to plant too many seeds when they are so small so I just put some in one hand and pinch a few with the other fingers trying to scatter them evenly over the SF. I would guess that I’ve put between 30 and 40 seeds in each square. Now rake the square gently to cover the seeds, or cover with a thin layer of compost. I’ll need to keep an eye on these as slugs love germinating seedlings. More on this later.

The photo below shows 8 of the 9 squares planted; the potato will go in later.


The next photo has the slug prevention in place around tender seedlings.


Finally I gently watered the SFG using a sprinkler on my watering can and covered the new seedlings with an old bit of ‘fleece’ I found in the shed to protect plants on cold nights, keep the birds out and moisture in. You could use any old net curtain from a jumble sale rather than buy a whole roll of fleece, try to keep it just above the seedlings. I used milk bottle ‘cloches’ around the French beans to give them a bit of protection from wind and cold. Below you can see how I left the SFG at the end of a good day.


I’ll check the plot every few days and when I feel the plants have established I may remove the fleece. Watch this space for progress. In the meantime I hope your SFG is underway and that it gives you the pleasure and satisfaction mine gives me. It won’t be long before we eat our first salad!

If you’re going to come to the TSA AGM on 21st I may just have a few brassica seedlings to give away (red cabbage, calabrase etc) but you’ll need a bit more space than a SFG!